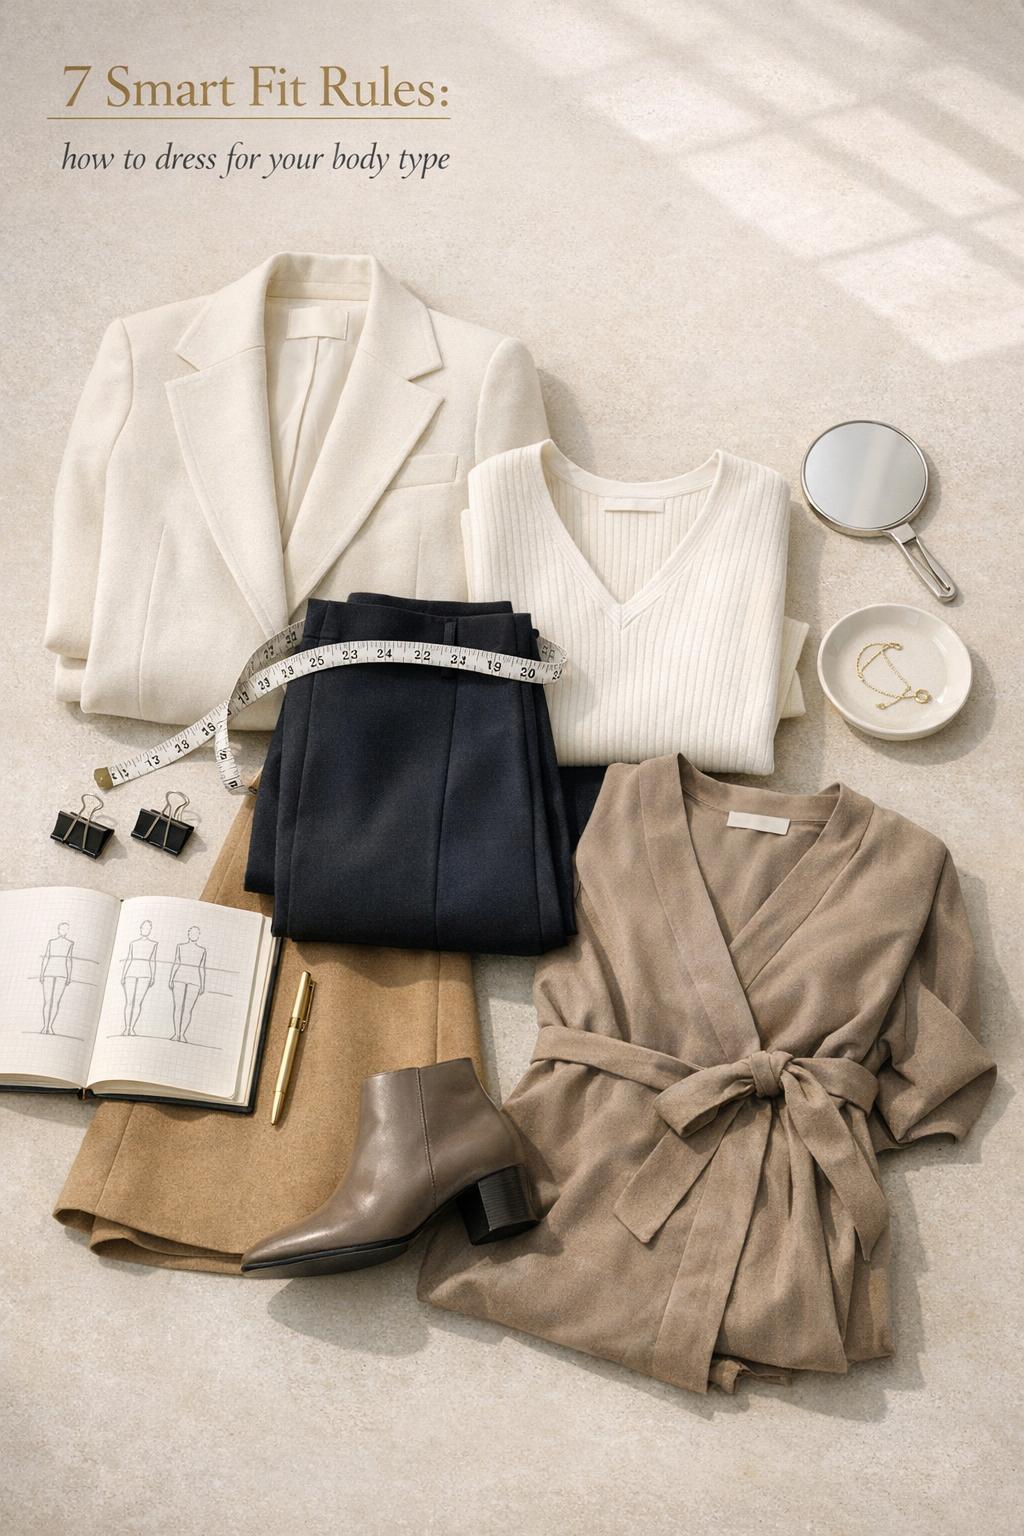
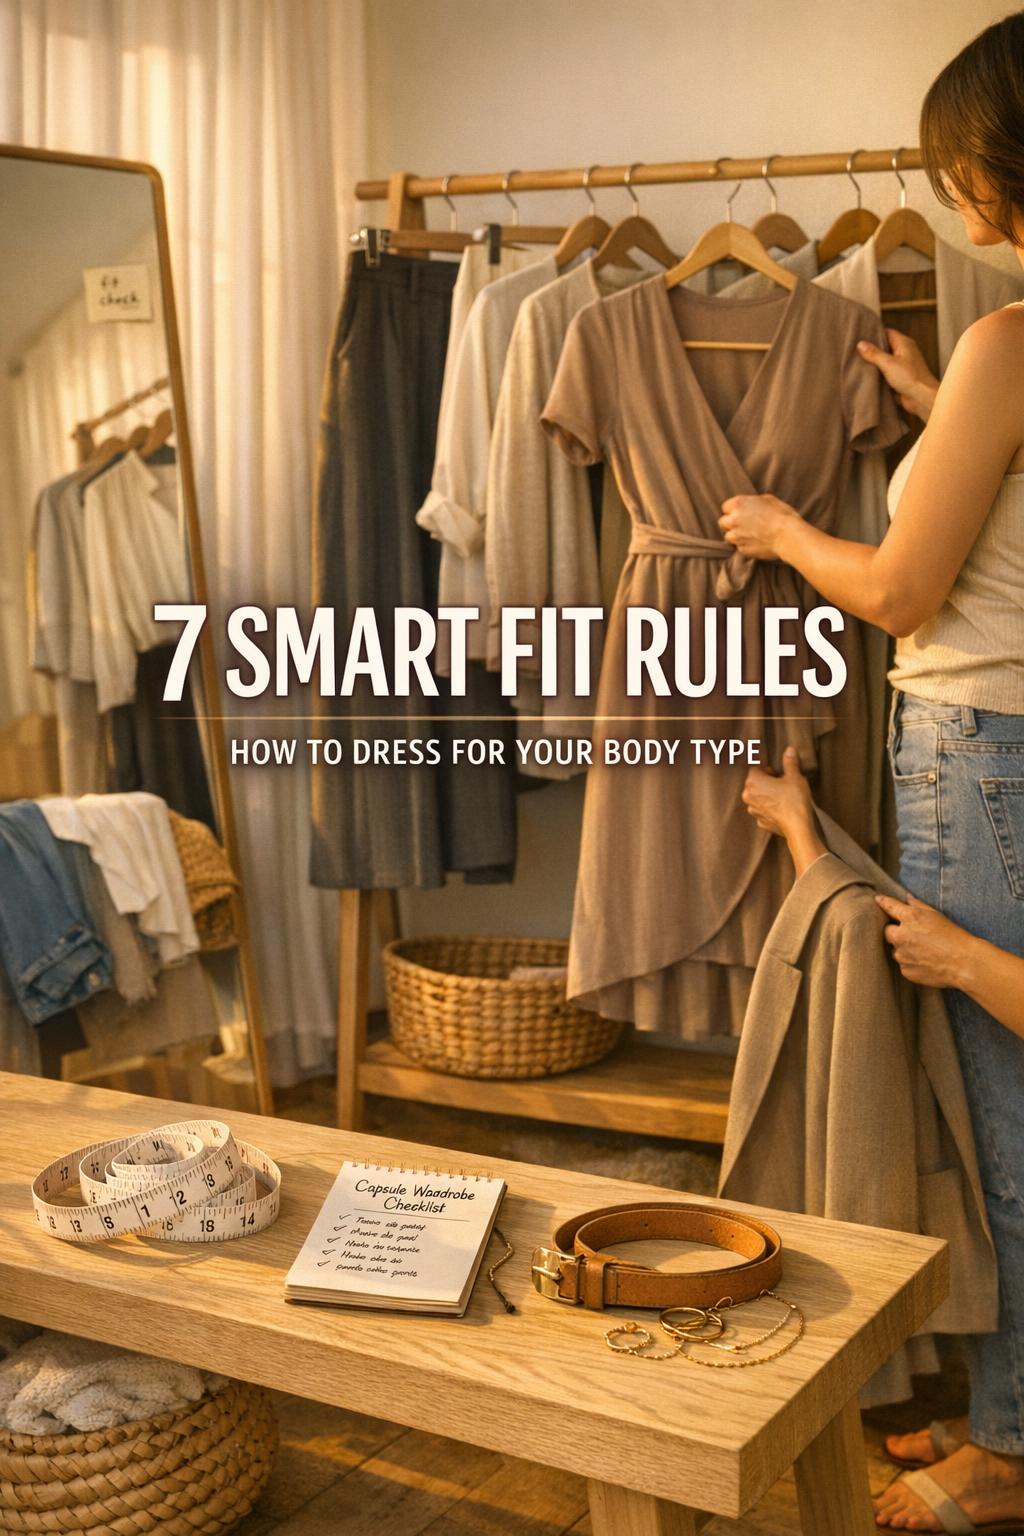
7 Smart Fit Rules: how to dress for your body type (US)
How to Dress for Your Body Type: A Practical, Modern Guide for Every Shape
Learning how to dress for your body type isn’t about chasing “rules” or hiding your shape—it’s about understanding proportion, choosing fits that feel good, and building outfits that look intentional. The most helpful approach is practical: identify your general body shape using simple measurements, apply a few core principles (balance, vertical lines, and fit), then use shape-specific outfit formulas to make getting dressed easier.
This guide breaks down common body shapes (hourglass, pear, apple, rectangle, and inverted triangle) and inclusive variants, then walks you through necklines, sleeves, hemlines, capsule wardrobe essentials, accessories, common mistakes to avoid, and smarter shopping habits. Use it as a toolkit: keep what works, skip what doesn’t, and prioritize comfort and confidence every step of the way.
Understanding Body Types: Quick, Inclusive Definitions
Body types (or body shapes) are typically described by how your shoulders, bust, waist, and hips relate to one another. These categories are meant to be helpful shortcuts for styling—not strict boxes. Many people are blends, and your shape can look different depending on fabric, undergarments, and how you like clothes to fit.
What counts as a body type (shoulders, bust, waist, hips)
Most body shape guides focus on proportion: the relative width of your shoulders and hips, plus how defined your waist appears. If your shoulders and hips are similar, you’ll typically fall into hourglass or rectangle territory depending on waist definition. If hips are noticeably wider than shoulders, that’s often described as pear. If shoulders are wider than hips, that’s often inverted triangle. If your midsection carries more visual volume compared to shoulders and hips, that’s often described as apple.
Tip: Treat these labels as starting points. The goal is not to “correct” your body, but to choose silhouettes that support the look you want—balanced, elongated, structured, relaxed, or any combination.
Common shapes explained (and inclusive variants)
Here are the most common shapes you’ll see referenced in body shape guides and shopping-focused wardrobe advice:
- Hourglass: shoulders and hips are relatively balanced with a more defined waist.
- Pear (triangle): hips are wider than shoulders/bust; waist may be defined.
- Apple (round): midsection appears fuller relative to shoulders/hips; legs and arms can appear more defined by comparison.
- Rectangle: shoulders, waist, and hips are closer in width with less waist definition.
- Inverted triangle: shoulders/bust are broader than hips.
- Inclusive variants: many people are blends (for example, “pear-hourglass” or “rectangle-inverted triangle”), and you can apply guidance from more than one section.
Inclusive styling reminder: This guide is about shape and proportion, not gender. Any body can wear any style. Use the sections as a way to find outfit ideas and silhouettes that work with your proportions and your preferences.
How to Identify Your Body Type (Simple Measurements)
If you’ve ever tried to “guess” your body type and felt stuck, measurements can make the process clearer. The goal is to compare shoulders, bust, waist, and hips and notice which areas are most similar and which are most different.
How to measure your shoulders, bust, waist, and hips
Use a flexible measuring tape and measure over close-fitting clothing. Stand naturally and keep the tape comfortably snug, not tight.
- Shoulders: measure around the broadest part of your shoulders (where your upper body appears widest).
- Bust: measure around the fullest part of your bust.
- Waist: measure around the narrowest point of your torso (often above the belly button).
- Hips: measure around the fullest part of your hips and seat.
Tip: Write the numbers down and compare them side by side. You’re looking for relative balance (similar measurements) or a clear “widest point” (shoulders/bust vs. hips vs. midsection).
Quick at-a-glance body-type quiz
This quick check helps you narrow down a starting point based on what you see and measure.
- If your shoulders and hips are close and your waist is more defined, start with hourglass.
- If your hips are wider than your shoulders/bust, start with pear.
- If your midsection is visually fuller than shoulders/hips, start with apple.
- If your shoulders, waist, and hips are similar, start with rectangle.
- If your shoulders/bust are wider than your hips, start with inverted triangle.
If you’re between two types, that’s normal. Choose the section that matches your most common fit challenges (tops pulling at shoulders, waistbands gapping, hips feeling tight, etc.) and borrow ideas from the adjacent shape.
Core Principles: Proportion, Balance, and Fit
Before getting shape-specific, it helps to understand the principles that show up across the best body type wardrobe advice: proportion, balance, and fit. These are the levers you can pull regardless of your size, style, or budget.
Use proportion on purpose (the rule of thirds)
The rule of thirds is a simple outfit strategy: instead of splitting your body into equal halves (50/50), aim for a 1/3 to 2/3 proportion. This often looks more intentional and can help you control where the eye lands—especially when you want to highlight your waist, elongate legs, or balance a fuller top or bottom.
Examples of “thirds” thinking include pairing a shorter top with higher-rise bottoms, using a jacket length that ends at a flattering point, or choosing a dress with a seam or belt that creates a clear waist placement.
Tip: If you’re unsure where to start, try one easy change: swap a mid-rise for a high-rise bottom or slightly shorten your top (tuck, half-tuck, or choose a cropped-but-not-short length). Small adjustments can dramatically change proportion.
Create balance with vertical lines and silhouette structure
“Vertical lines” are a common styling technique used to create a longer, cleaner look. You can create vertical emphasis through streamlined fits, long layers, and uninterrupted color lines. Balance is the companion idea: if one area is visually broader (like shoulders or hips), you can balance it by adding structure, volume, or emphasis to the opposite area.
Practical ways to think about this: when you broaden the shoulders with a strong neckline, you might choose a bottom that adds shape; when you add volume on the lower half with an A-line skirt, you might keep the top more streamlined. Neither is “right” or “wrong”—it depends on whether you want a balanced silhouette or a deliberately fashion-forward contrast.
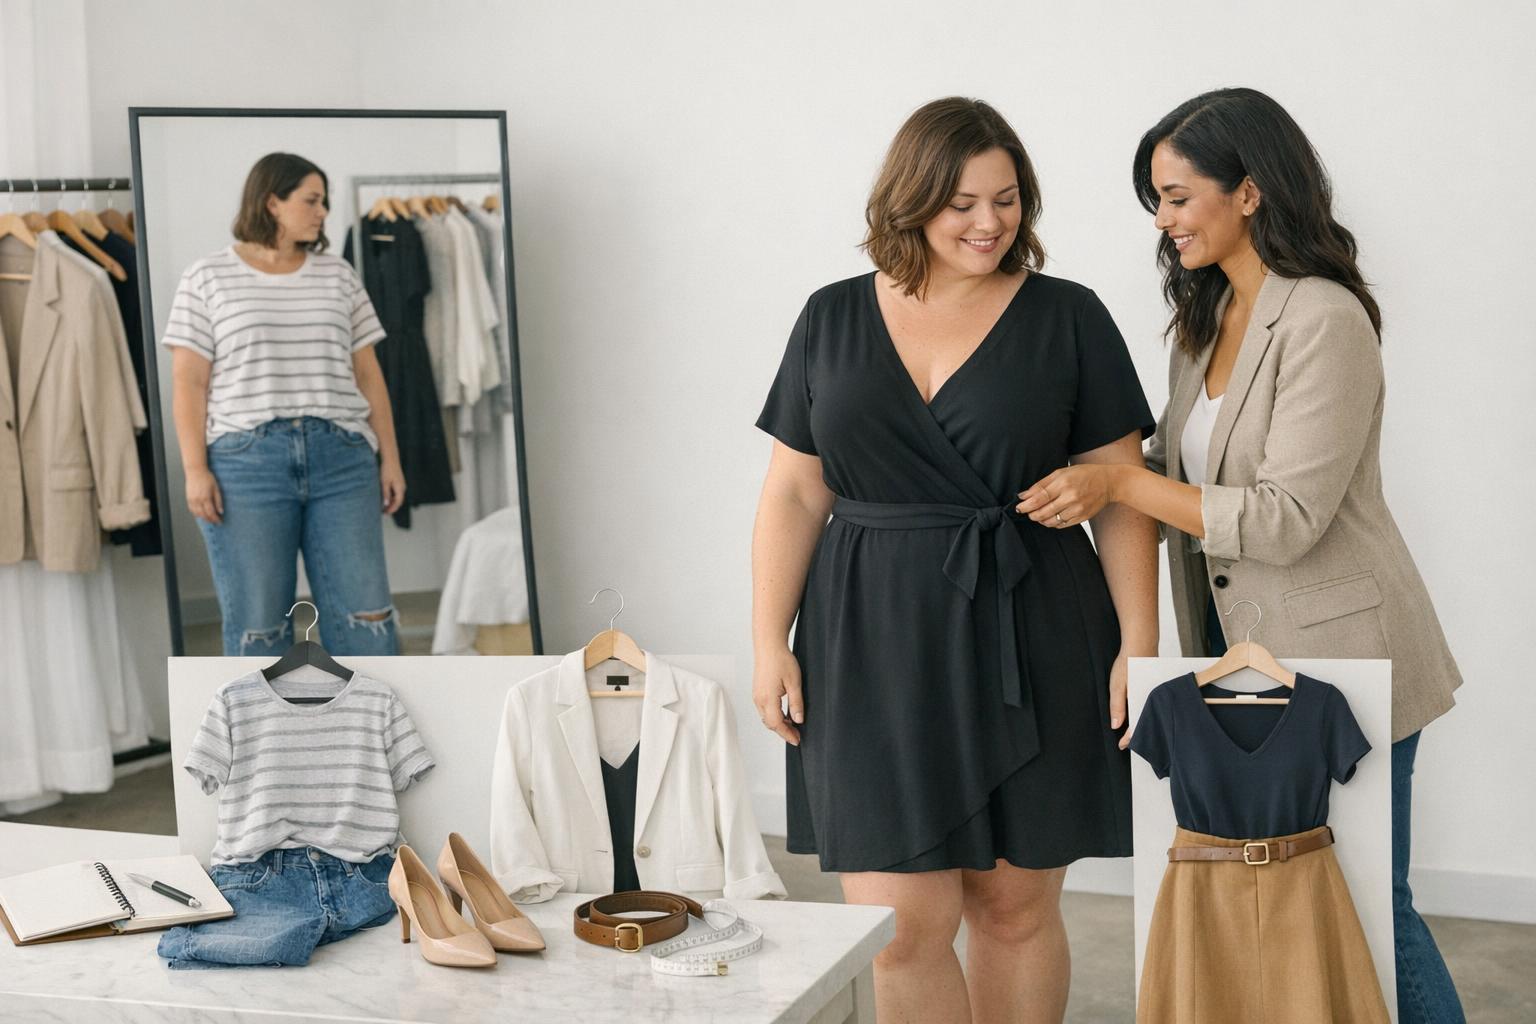
Fit matters more than the label
Many “figure-flattering clothing” wins come down to fit: where seams land, whether waistlines sit comfortably, and how fabric drapes. A well-fitting garment in a simple cut can outperform a trendy piece that pinches, pulls, or collapses in the wrong places.
Tip: When evaluating fit, check these areas first: shoulder seams (should sit near the edge of your shoulder), the waistband (should stay in place without digging), and the hemline (shouldn’t ride up or cling in a way that changes how you move). If you love a piece but something feels off, try a different size or a similar style in a different fabric.
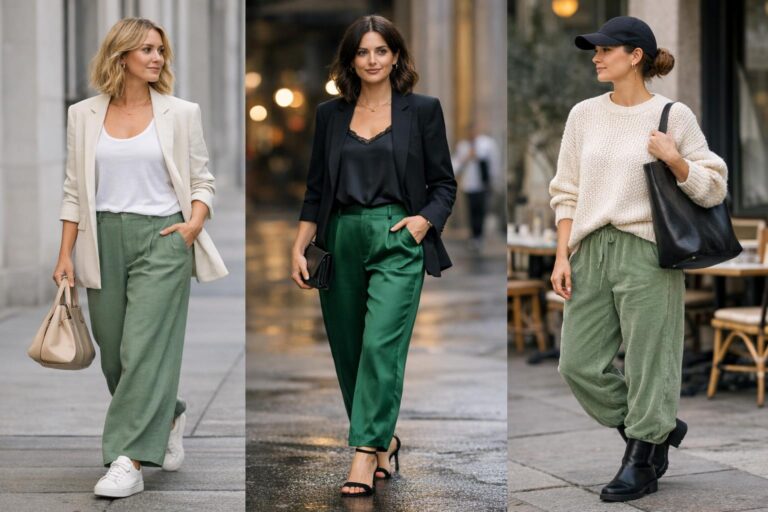
Styling by Body Type: Practical Outfit Formulas
This section focuses on actionable outfit ideas by shape. Use these as repeatable formulas for tops, bottoms, dresses, and outerwear—then adjust based on your personal style and comfort level.
Hourglass: emphasize the waist with tailored silhouettes
For hourglass shapes, the most consistent styling goal is to highlight natural waist definition while keeping shoulders and hips visually balanced. Pieces that follow your lines (without feeling tight) tend to look polished and intentional.
- Top + bottom formula: a defined-waist top (wrap-style, fitted knit, or tucked-in blouse) with high-rise bottoms that sit at the waist.
- Dress formula: waist-defined dresses that show shape through the middle rather than hanging straight from shoulders to hips.
- Outerwear formula: jackets that nip in at the waist or create shape through seaming rather than boxy volume.
Tip: If you like looser tops, add waist definition through styling instead of tightness—use a tuck, a belt, or a jacket that creates a clear “in and out” line at the waist.
Pear: balance the silhouette by drawing attention upward
Pear shapes often find that bottoms fit more snugly while tops feel easier. A classic approach is to balance proportions by adding interest to the upper body and choosing lower-half silhouettes that skim rather than cling.
- Top strategy: choose necklines and details that bring attention upward (clean open necklines, interesting sleeves, or structured shoulders).
- Bottom strategy: consider A-line skirts and bottoms that fall cleanly from the hip rather than grabbing at the widest point.
- Dress strategy: shapes that define the waist and allow the skirt to flow (a waist-emphasized silhouette with room through hips).
Tip: If your goal is a longer leg line, pair high-rise bottoms with a slightly shorter top (or a tuck) to create a strong 1/3-to-2/3 proportion.
Apple: elongate the torso with strategic lines and comfortable structure
Apple shapes often prefer outfits that feel comfortable through the midsection while still looking defined and elevated. A common objective is to create a longer line through the torso and use structure (not tightness) to guide the silhouette.
- Top strategy: use necklines that create openness and a longer line through the center of the body.
- Dress strategy: consider empire-style shapes that place visual definition higher and allow fabric to skim over the midsection.
- Layering strategy: long, open layers can create vertical lines and a streamlined effect.
Tip: Prioritize fabrics that drape rather than cling when you want a smoother line through the middle. The same cut can look completely different depending on how the fabric falls.
Rectangle: create curves through layering, shape, and waist emphasis
Rectangle shapes typically have more even measurements through shoulders, waist, and hips. If you want to create more shape, look for ways to add definition—through layering, strategic volume, and waist emphasis—without relying on one single “magic” garment.
- Top + bottom formula: add waist definition with a tuck, belt, or shaped jacket, then choose bottoms that add curve through cut and fit.
- Layering formula: use layers to build shape (a structured outer layer over a more fitted base).
- Dress formula: silhouettes that create a waist or add dimension through seaming and structure.
Tip: If you dislike belts, focus on clothing construction instead—pieces with seams, darts, or shaping can create definition without any cinching.
Inverted triangle: soften the shoulder line and add shape to the lower half
Inverted triangle shapes typically have broader shoulders or bust compared to hips. Many outfit formulas focus on softening or simplifying the upper body while visually widening the lower half for balance.
- Top strategy: choose necklines that flatter your frame while keeping the shoulder area clean and not overly bulky.
- Bottom strategy: consider cuts that add presence to hips and legs through shape and silhouette.
- Dress strategy: styles that keep the top streamlined and allow more movement or shape below the waist.
Tip: If you love statement tops, you don’t have to give them up—pair them with bottoms that hold their own so the outfit feels balanced rather than top-heavy.
Necklines, Sleeves, and Hemlines by Shape
Small details make a big difference. Necklines shape the visual width of shoulders and the length of the neck. Sleeves affect where the eye stops on your arm and how broad your upper body looks. Hemlines control proportion and balance—especially when paired with the rule of thirds.
Necklines to enhance balance (V-neck, scoop, boat, Sabrina, turtleneck)
Neckline choice is one of the quickest ways to adjust proportion. Open necklines can create a longer line through the center, while wider necklines can emphasize shoulder width. Use these effects intentionally depending on your shape and the look you want.
- V-neck: often used to create an elongating line and a more open, vertical emphasis.
- Scoop neck: creates openness while feeling softer and casual.
- Boat neck: emphasizes width across the shoulders; can look striking and structured.
- Sabrina neckline: a wide, refined neckline that can highlight collarbones and create a balanced upper frame.
- Turtleneck: adds coverage and can create a sleek, continuous line; consider overall balance with the rest of the outfit.
Tip: If you want to visually lengthen the upper body, choose a neckline that creates a longer vertical opening. If you want to emphasize shoulders (for balance or style), choose a wider neckline and keep the rest of the look streamlined.
Sleeve and hemline tips (balance through lengths and endpoints)
Sleeves and hemlines influence “endpoints”—where the eye naturally stops. The most useful approach is to choose endpoints that support your outfit’s balance: add interest where you want emphasis and keep things simple where you want a cleaner line.
For sleeves, think about whether you want to broaden the shoulder area (structured sleeves, noticeable volume) or keep it more streamlined (cleaner sleeve lines). For hemlines, use proportion: a hem that cuts at an awkward point can visually shorten, while a hem that supports a 1/3-to-2/3 breakdown can make the outfit feel more intentional.
Tip: When in doubt, try one variable at a time. Keep the same top and swap sleeve styles, or keep the same skirt/pants and try different top lengths. You’ll quickly learn which endpoints feel most flattering and comfortable on you.
Capsule Wardrobe by Body Type: 12–16 Essential Pieces
A capsule wardrobe is a small set of versatile pieces that mix and match easily. The benefit is less decision fatigue and more repeatable outfit formulas. Instead of chasing endless options, focus on silhouettes and fabrics that consistently work for your shape and lifestyle.
How to tailor a capsule to your shape (without boxing yourself in)
Start with a base capsule that works for most body types, then adjust the cuts and proportions to suit your shape. Think in categories—tops, bottoms, layers, and one-piece outfits—then choose versions that support balance and fit.
- 2–4 tops: a mix of open necklines and a more covered option (choose necklines that flatter your frame).
- 2–3 bottoms: include at least one high-rise option if you like the rule-of-thirds effect.
- 1–2 skirts or alternate bottoms: consider A-line shapes if you want a skim-and-balance effect.
- 2 layers: one structured layer (blazer/jacket style) and one softer open layer to create vertical lines.
- 2 dresses or jumpsuit equivalents: pick silhouettes that either define the waist (hourglass/pear/rectangle) or create a long line with comfortable structure (apple/inverted triangle).
- 1–2 versatile shoes: choose styles that support your comfort and the outfits you repeat most.
- 1 belt or waist-defining tool: optional, but useful if you like waist emphasis.
- 2 “personality” pieces: color, print, or texture that still works with your core silhouettes.
Tip: If you’re building slowly, start with the pieces that solve your biggest fit problem first (for many people, that’s bottoms). Once you have a reliable bottom silhouette, tops and layers become much easier.
Fabrics, colors, and patterns that work with proportion and drape
Beyond cut, fabric behavior matters. Some fabrics cling, some hold structure, and others drape softly. That drape can change how defined your waist looks, how long your torso appears, and how smoothly a garment falls over hips or midsection.
A practical way to use this: if you want definition, choose pieces with some structure or shaping. If you want a softer look or more comfort through an area, choose fabrics that skim and drape. Patterns and color can also guide the eye—use them to highlight your favorite features and create the balance you want.
Tip: When shopping, don’t judge a silhouette only by the hanger photo. Consider how the fabric will move and fall on your body, especially in areas where you often notice pulling or bunching.
Accessories and Details That Flatter Your Shape
Accessories aren’t just finishing touches—they can be proportion tools. Belts can create or emphasize a waist. Shoes can visually extend the leg line depending on how they work with your hemline. Jewelry can draw attention upward toward your face and neckline, which is especially useful when you want to balance the silhouette.
Belts, footwear, and jewelry: simple strategies
- Belts: use them to create a waist where you want it—over dresses, at the natural waist, or slightly higher depending on the silhouette you prefer.
- Footwear: coordinate shoes with hemlines for a clean line; think about whether you want your outfit to feel longer and more continuous or intentionally broken up.
- Jewelry: use it to guide attention (neckline-adjacent pieces can complement open necklines and create a focal point near the face).
Tip: If you’re experimenting with a new silhouette, change one accessory first. A belt placement shift or different shoe style can make a familiar outfit feel like a new, more balanced look without buying new clothes.
Common Mistakes to Avoid (Shape-Specific)
Most outfit frustration comes from a mismatch between silhouette and proportion—not from your body. These are common pitfalls people run into when trying to dress for body shape, along with a more helpful alternative mindset.
Overcorrecting instead of balancing
It’s easy to swing too far into “fixing” a shape: hiding the hips completely, drowning in oversized layers, or avoiding necklines and cuts you actually like. A better approach is balance: if you add volume in one area, keep another more streamlined; if you choose a strong neckline, pair it with a bottom silhouette that complements it.
Ignoring endpoints (where tops, sleeves, and hems stop)
Top length, sleeve length, and hemline placement create visual breaks. If an outfit feels “off,” it’s often because the breaks land at awkward points and disrupt proportion. Use the rule of thirds as a simple reset: aim for a top length and bottom rise that create a 1/3-to-2/3 split rather than a straight half-and-half.
Buying the right “style” in the wrong fabric
Two garments can have the same cut but behave differently based on fabric. If you need something to skim, a clingy fabric can feel unforgiving; if you want definition, a fabric with no structure can collapse and look shapeless. When a piece doesn’t work, it may not be the silhouette—it might be the material and how it drapes.
Tip: Build a short personal checklist for fit and comfort—shoulders, waistband, and movement. If a piece fails one of those checks, it’s not a you problem; it’s a fit mismatch that you can solve by trying another cut, size, or fabric.
How to Shop Smarter: Size Charts, Fit, and Wardrobe Planning
Shopping for your body type is easier when you focus on predictable results: cuts you already know you like, details that support balance (necklines, hems, waist placement), and fabrics that match your comfort preferences. Shopping becomes even smoother when you use size charts and garment details rather than relying only on your “usual size.”
How to read size charts and fabric details
Use your measurements (bust, waist, hips, and shoulders) to choose sizes intentionally. If you’re between sizes, think about where you need the best fit: shoulders and bust for tops, hips and waist for bottoms. Fabric details help you predict comfort and drape—especially if you want structure versus softness.
Tip: If a brand offers multiple tools (like fit guidance, search filters, or body-style recommendations), use them to reduce guesswork. Even without a formal “calculator,” your measurements can guide better choices than habit or hope.
Build outfits first, not just a closet
A body type wardrobe works best when you can quickly assemble outfits that repeat. Instead of buying isolated “nice” pieces, look for items that fit into outfit formulas: a top that works with two bottoms, a layer that works over multiple necklines, and a dress silhouette you’d actually wear regularly.
Tip: Before buying, mentally pair the item with at least two things you already own. If you can’t, it may be an impulse piece rather than a wardrobe-builder.
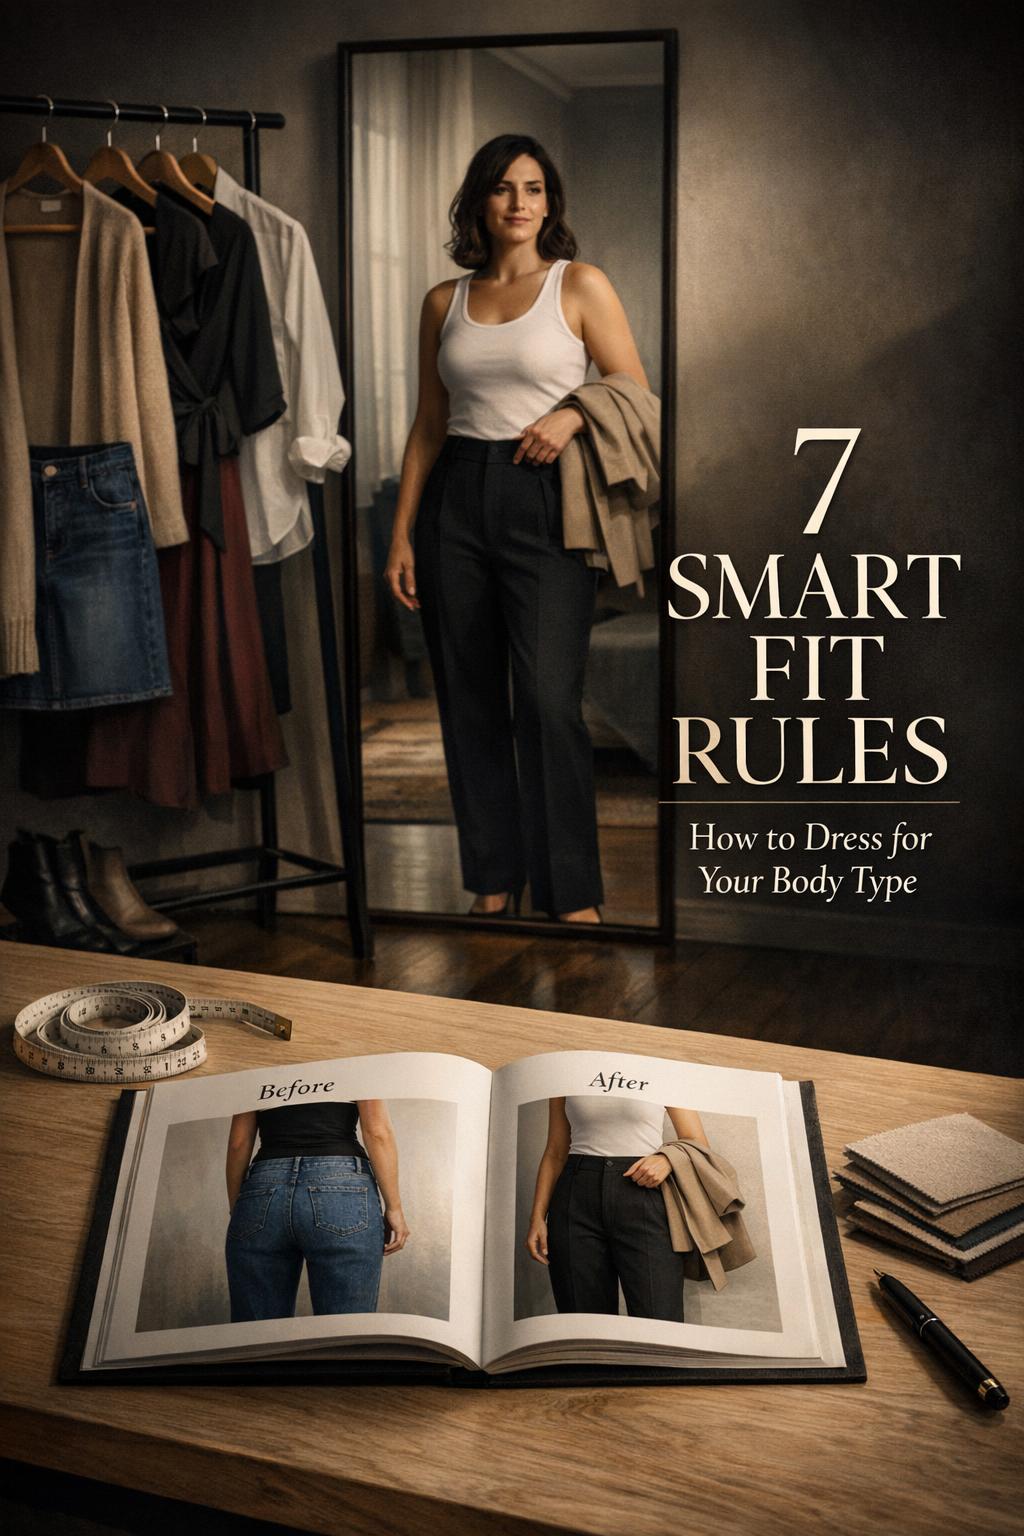
Real-Life Examples: Before/After Outfit Adjustments (No New Closet Required)
You don’t need an entirely new wardrobe to dress for your body type. Most “before/after” improvements come from small, targeted changes: a different neckline, a shifted waistline, a cleaner hemline, or an added vertical layer. Use these examples as templates you can recreate with what you already have.
Example 1: The “half-and-half” outfit becomes the rule of thirds
If your outfit feels blocky, try adjusting the proportion. Swap to a higher-rise bottom or change how you wear the top (tuck or slightly shorter length). The goal is to create a 1/3-to-2/3 balance so the outfit has shape and intention rather than a straight split across the middle.
Example 2: A top-heavy look becomes balanced
If your shoulders or bust feel visually dominant, keep the top clean and choose a bottom silhouette with more presence. You can also soften the upper frame with a neckline that creates a longer center line. The result is an outfit that feels evenly weighted rather than top-forward.
Example 3: A clingy fit becomes a skim fit
If a garment clings in a way that makes you tug at it all day, try the same general silhouette in a different fabric or with slightly more ease. Often, the “fix” is not a different style category—it’s a better drape and a fit that supports movement and comfort.
FAQ
How do I determine my body type?
Measure your shoulders, bust, waist, and hips, then compare which areas are most similar and which are most different; that proportion usually points you toward hourglass (balanced with a defined waist), pear (hips wider), apple (midsection fuller), rectangle (measurements more even), or inverted triangle (shoulders/bust wider).
What if I don’t fit perfectly into one body shape?
That’s normal—many people are blends—so start with the section that matches your most common fit challenges and borrow outfit formulas from a second shape as needed, focusing on balance, proportion, and comfort.
What is the rule of thirds in outfits?
The rule of thirds is a proportion strategy where you avoid splitting your outfit into equal halves and instead aim for a 1/3-to-2/3 balance, often by pairing a shorter top with higher-rise bottoms or choosing layers and hems that create a more intentional silhouette.
Which necklines are most flattering for different body types?
Necklines change how wide or long the upper body appears: V-necks and scoops often create an open, elongating line, while boat and Sabrina necklines emphasize width across the shoulders, and turtlenecks create a sleek, covered line that you can balance with the rest of the outfit.
How can I dress for my body type without buying new clothes?
Start with small changes that affect proportion and balance, such as tucking or adjusting top length, changing where your waistline sits (for example, trying higher-rise bottoms), adding an open layer for vertical lines, or swapping necklines and hemlines to refine endpoints.
What are the best outfit ideas for an hourglass shape?
Outfits that highlight the waist and keep shoulders and hips balanced tend to work well, such as waist-defined tops paired with high-rise bottoms, waist-seamed dresses, and outerwear with shaping rather than boxy volume.
What clothing tips help a pear-shaped body look balanced?
Bring attention upward with necklines and upper-body details, then choose lower-half silhouettes that skim rather than cling—A-line skirts and waist-defined dresses with more room through the hips are common go-to options.
How do I dress an apple shape to feel comfortable and put-together?
Focus on creating a longer torso line with strategic necklines and vertical layers, and consider silhouettes like empire-waist dresses that define higher up while allowing fabric to skim comfortably over the midsection.
How do I shop smarter for my body type across different brands?
Use your actual measurements to compare against size charts, pay attention to fit needs by category (shoulders/bust for tops, hips/waist for bottoms), and consider fabric and drape so you’re not relying only on a “usual size” that can vary widely.