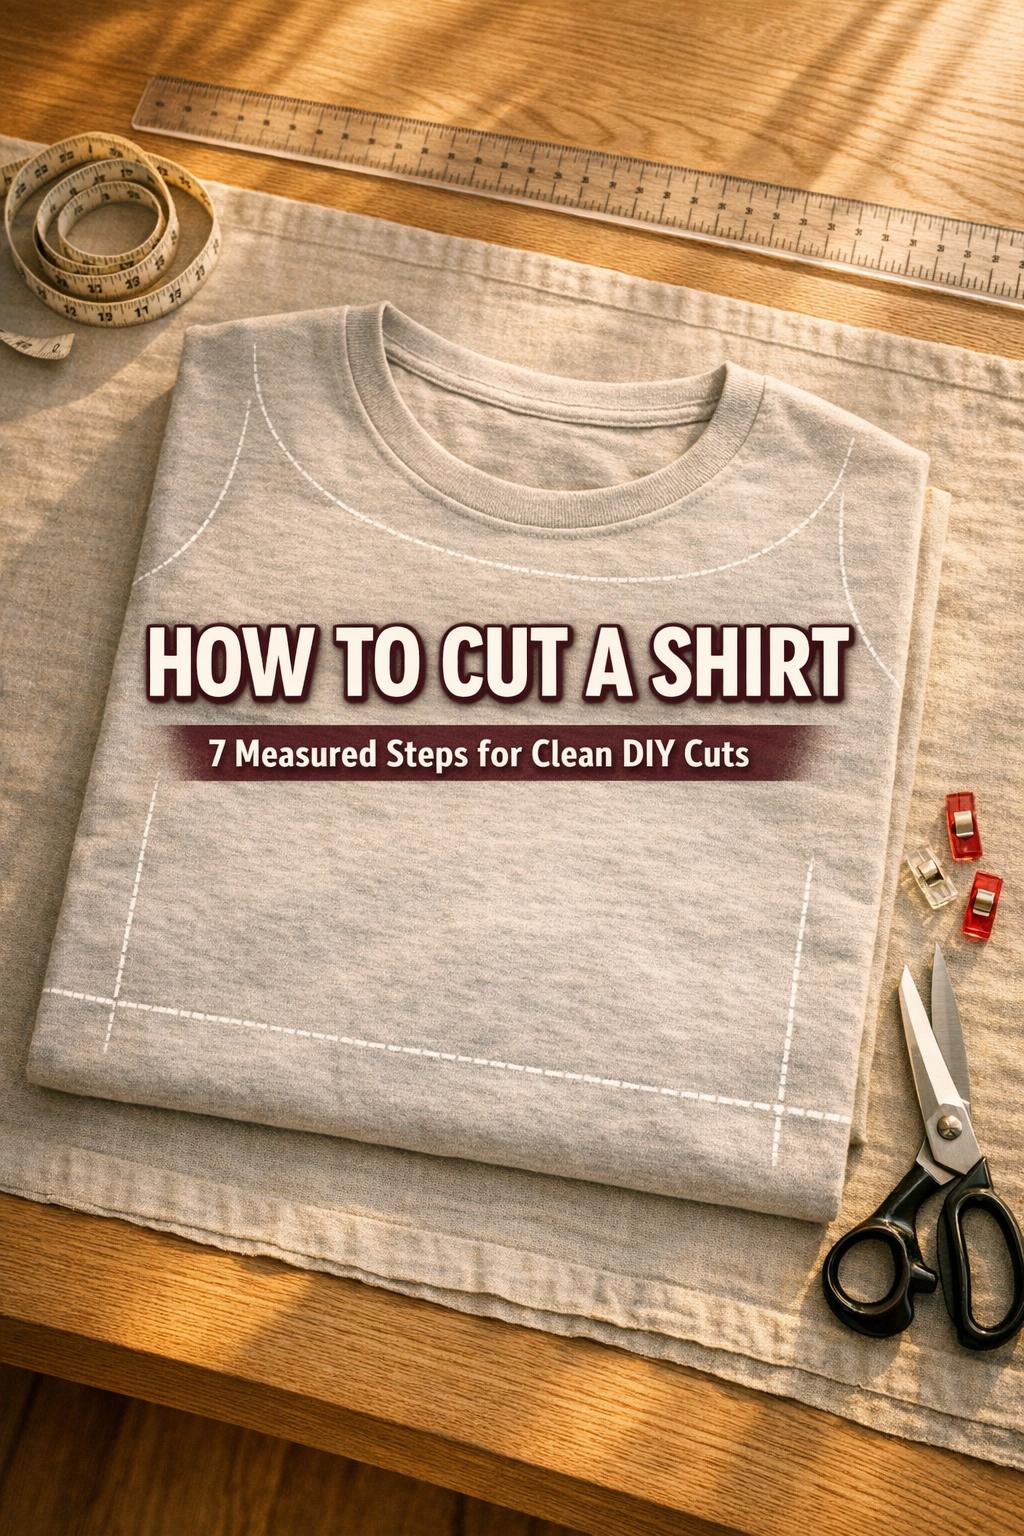
How to Cut a Shirt: 7 Measured Steps for Clean DIY Cuts
How to Cut a Shirt: A Clear, Practical Guide
How to cut a shirt is one of those deceptively simple projects that can go from “quick DIY” to “why did I do that?” if you don’t slow down and plan. The good news is that cutting a shirt is manageable when you approach it like a small craft project: pick a goal, choose the right shirt, mark your lines, and make controlled cuts. This guide walks you through a thoughtful process so your finished shirt looks intentional, fits the way you want, and doesn’t unravel into a mess.
This article focuses on the decision-making and preparation that make the biggest difference: what you’re trying to achieve, how to avoid common mistakes, and how to keep your cut lines neat. You’ll also find practical “Tips” throughout to help you avoid uneven hems, accidental asymmetry, and irreversible cuts.
Start With a Plan: Decide What “Cutting a Shirt” Means for Your Goal
Cutting a shirt can mean many things, from shortening the length to changing the neckline, creating sleeveless armholes, or reshaping the sides for a better fit. Before you pick up scissors, decide exactly what result you want. A vague goal like “make it cuter” often leads to over-cutting or uneven lines, while a specific goal like “crop it two inches” or “turn it into a tank” gives you a clear target.
It also helps to decide whether you want a clean, minimal change (like a shorter hem) or a more dramatic transformation (like a new neckline and sleeveless cut). Your plan will determine how much measuring and marking you need, and whether you can do the project in one pass or should test the shape gradually.
- Choose one primary change (length, sleeves, neckline, or shape) before adding extras
- Decide whether you want a raw edge look or a more polished finish
- Commit to symmetry (matching both sides) or an intentionally asymmetrical design
Pick the Right Shirt Before You Cut
Not every shirt is equally forgiving when you cut it. The ideal first project is a shirt you don’t mind experimenting on, preferably one that’s already a bit worn or inexpensive. The fit and fabric also matter: a shirt that already fits well at the shoulders and chest is easier to modify without creating unexpected shape issues.
Consider whether the shirt is too big, too long, or too tight, because cutting can solve some issues but not all. Shortening a shirt or opening the neckline can make it feel less restrictive, but cutting can’t truly add fabric where it’s lacking. Starting with a shirt that’s close to what you want makes the whole process easier.
Tips: Choose a “Practice Shirt” First
If you’re new to cutting shirts, do your first attempt on a shirt you wouldn’t be upset to lose. That one decision reduces hesitation and helps you learn how your scissors, your marking method, and your cutting pace affect the final look.
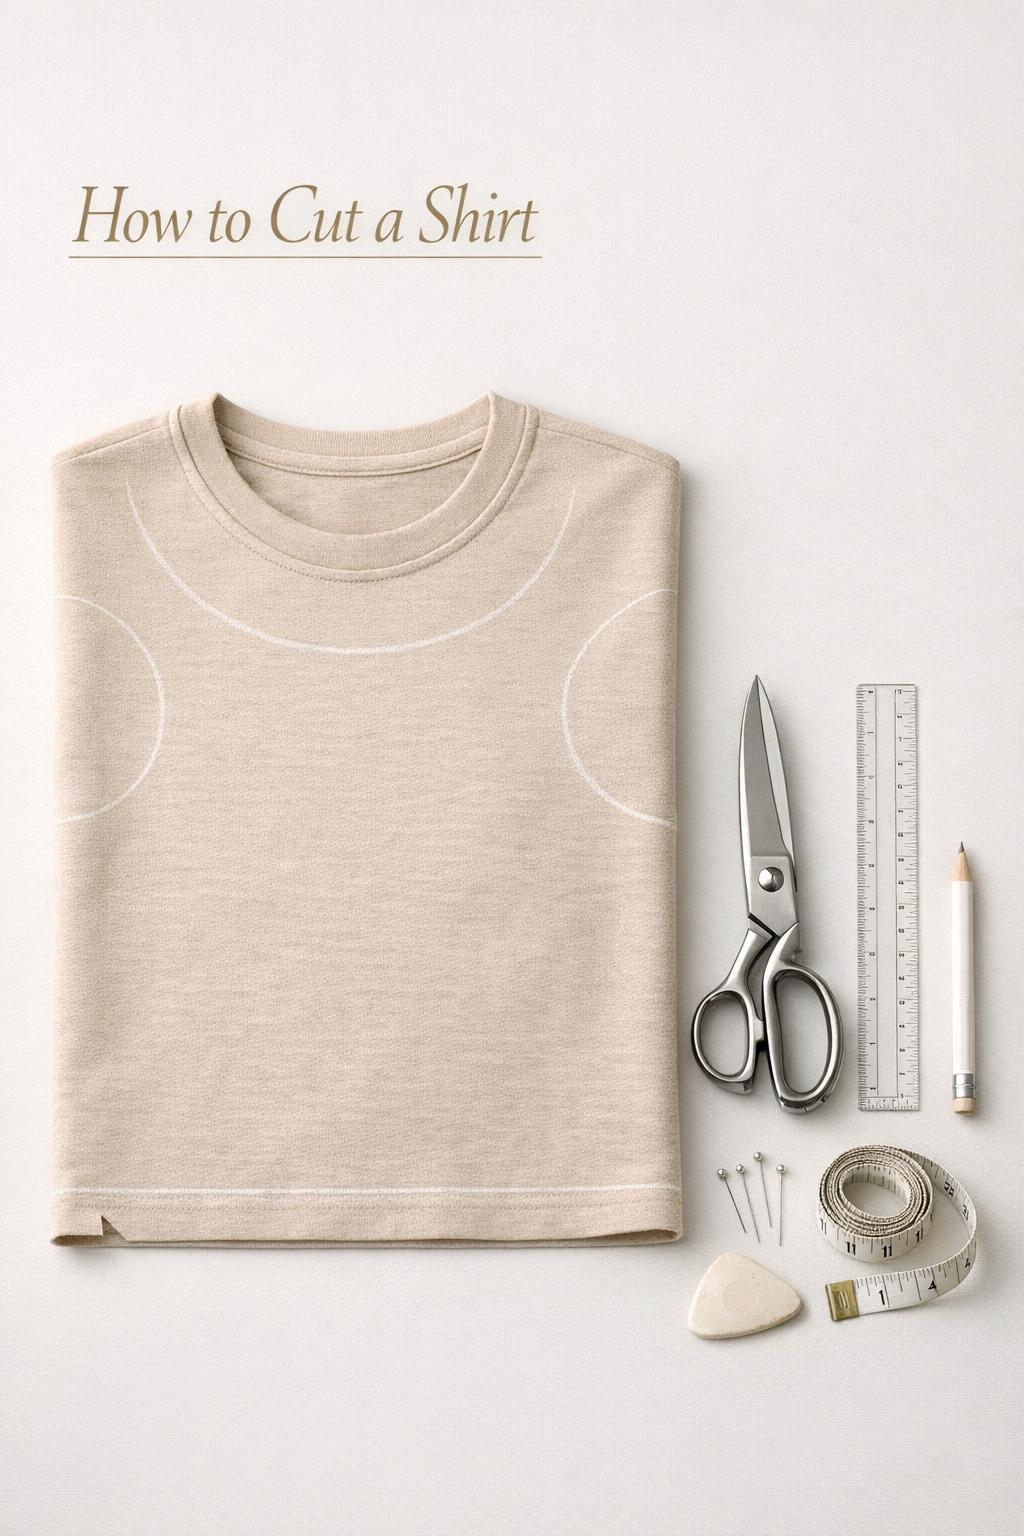
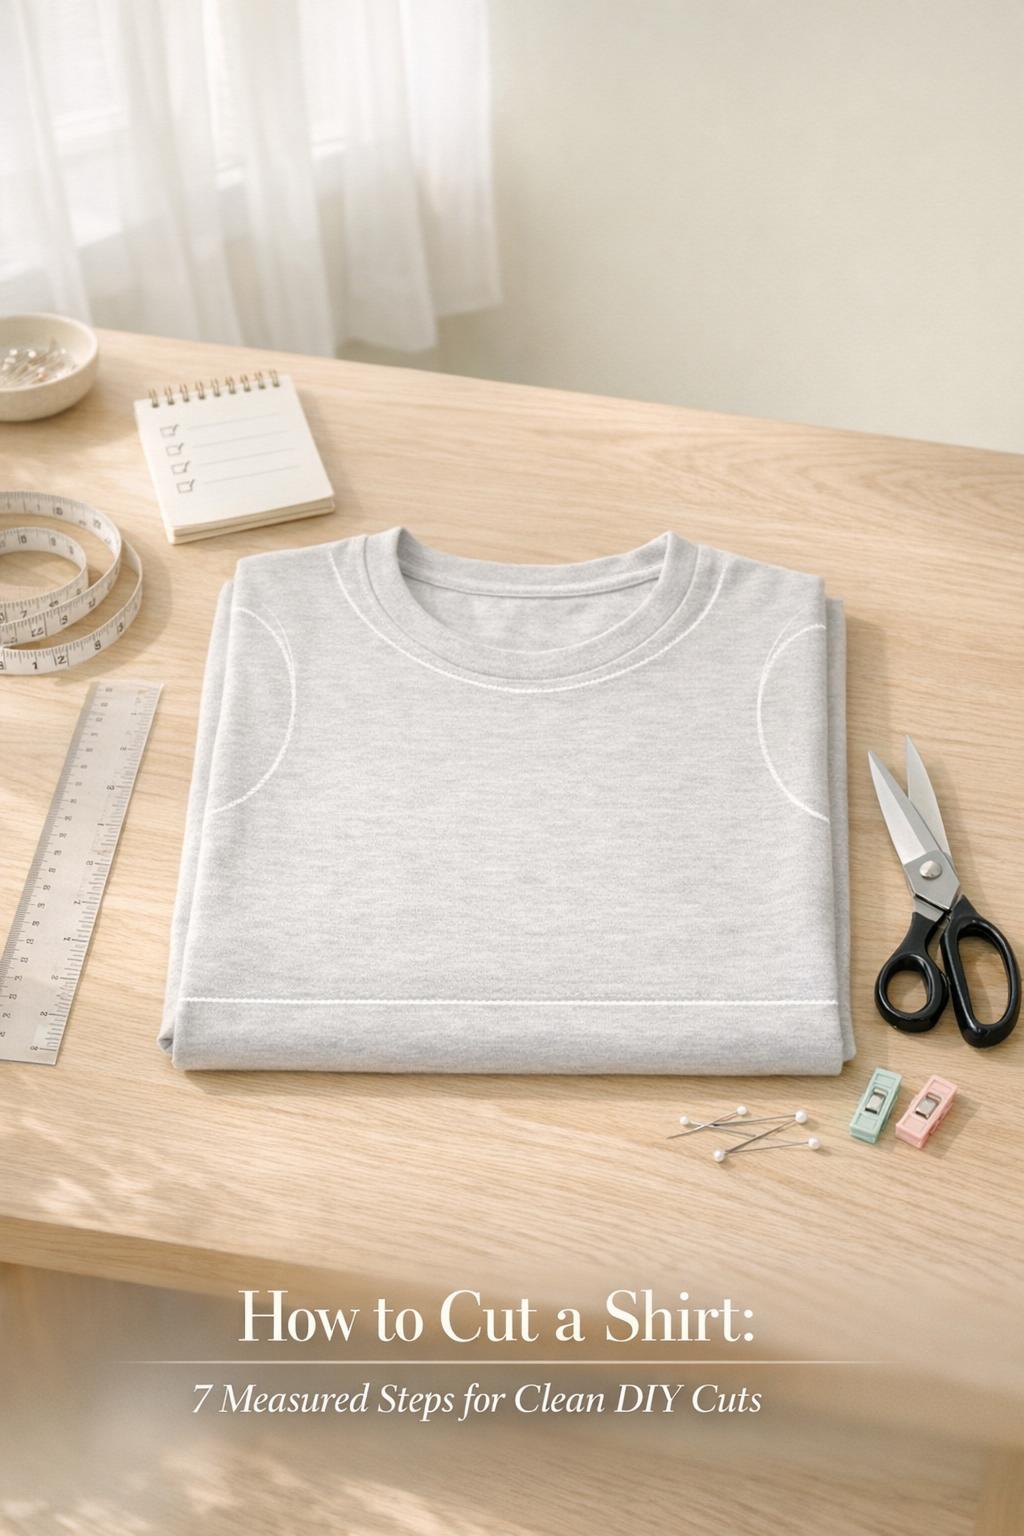
Set Up Your Workspace and Gather Basic Tools
A clean, flat work surface makes it easier to keep lines straight and maintain symmetry. Cutting on a bed or soft surface can cause the fabric to shift, which increases the odds of uneven results. Work slowly and deliberately, and keep your setup simple so you can focus on accuracy.
You don’t need a complicated toolkit, but you do need consistency: the same surface, the same lighting, and the same cutting tool from start to finish. Switching tools mid-project is one of the easiest ways to change the look of your cut edge.
- Flat surface with enough space to spread the shirt out fully
- Sharp scissors dedicated to fabric if possible
- Something to mark your cut lines clearly
- A way to check symmetry (folding the shirt is often the simplest)
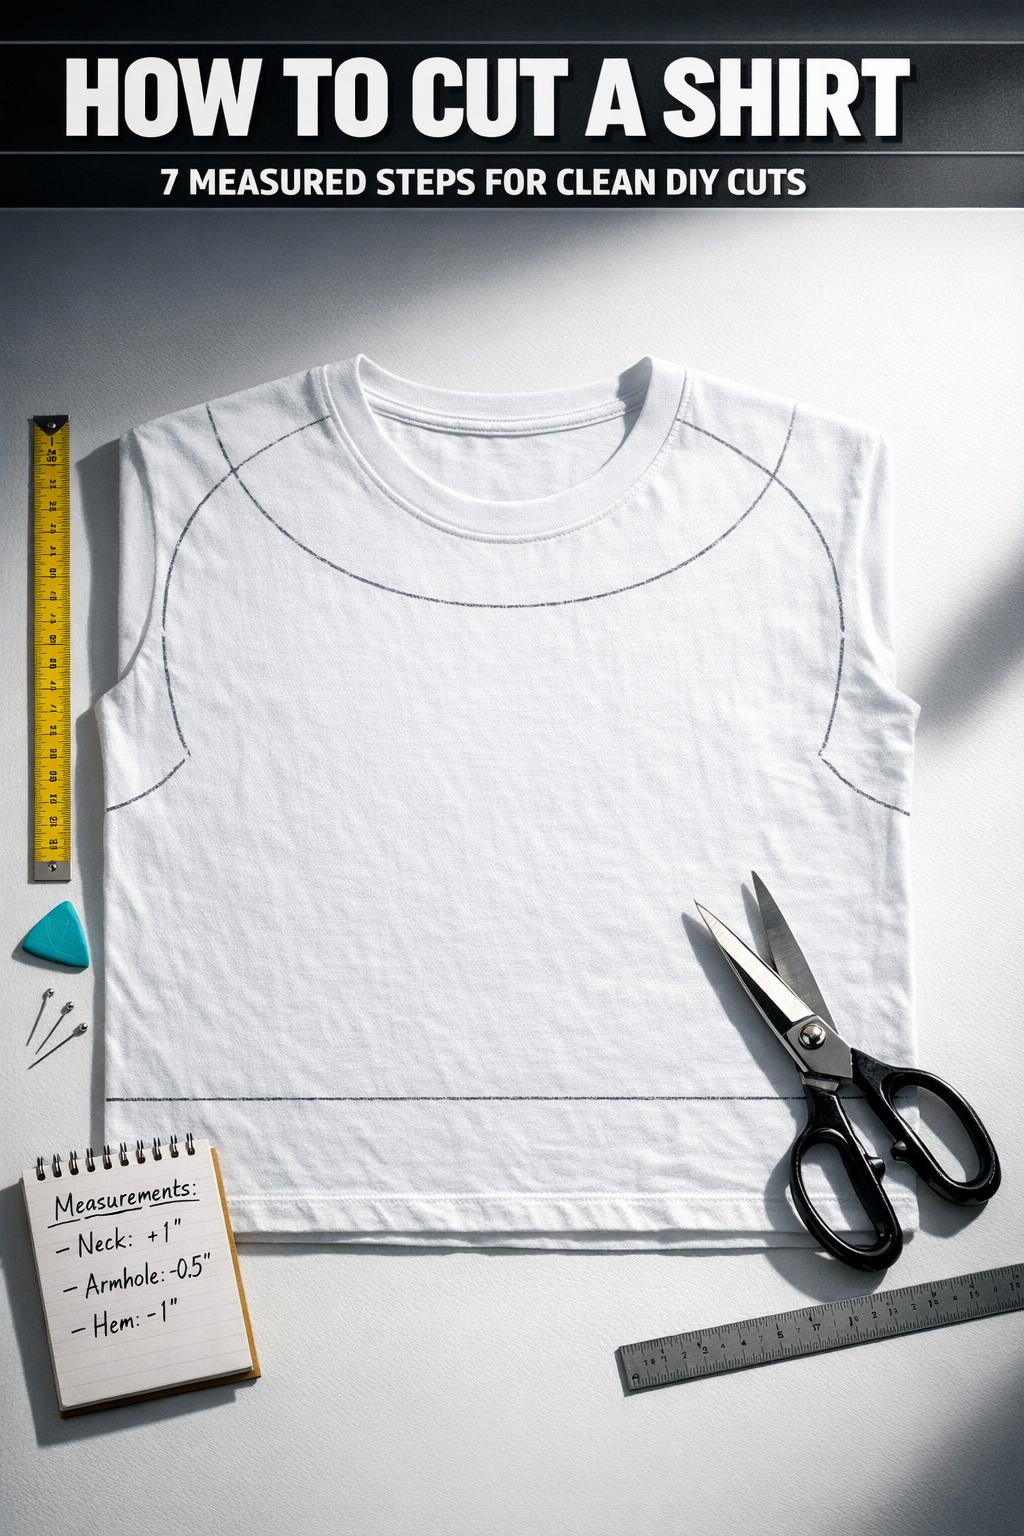
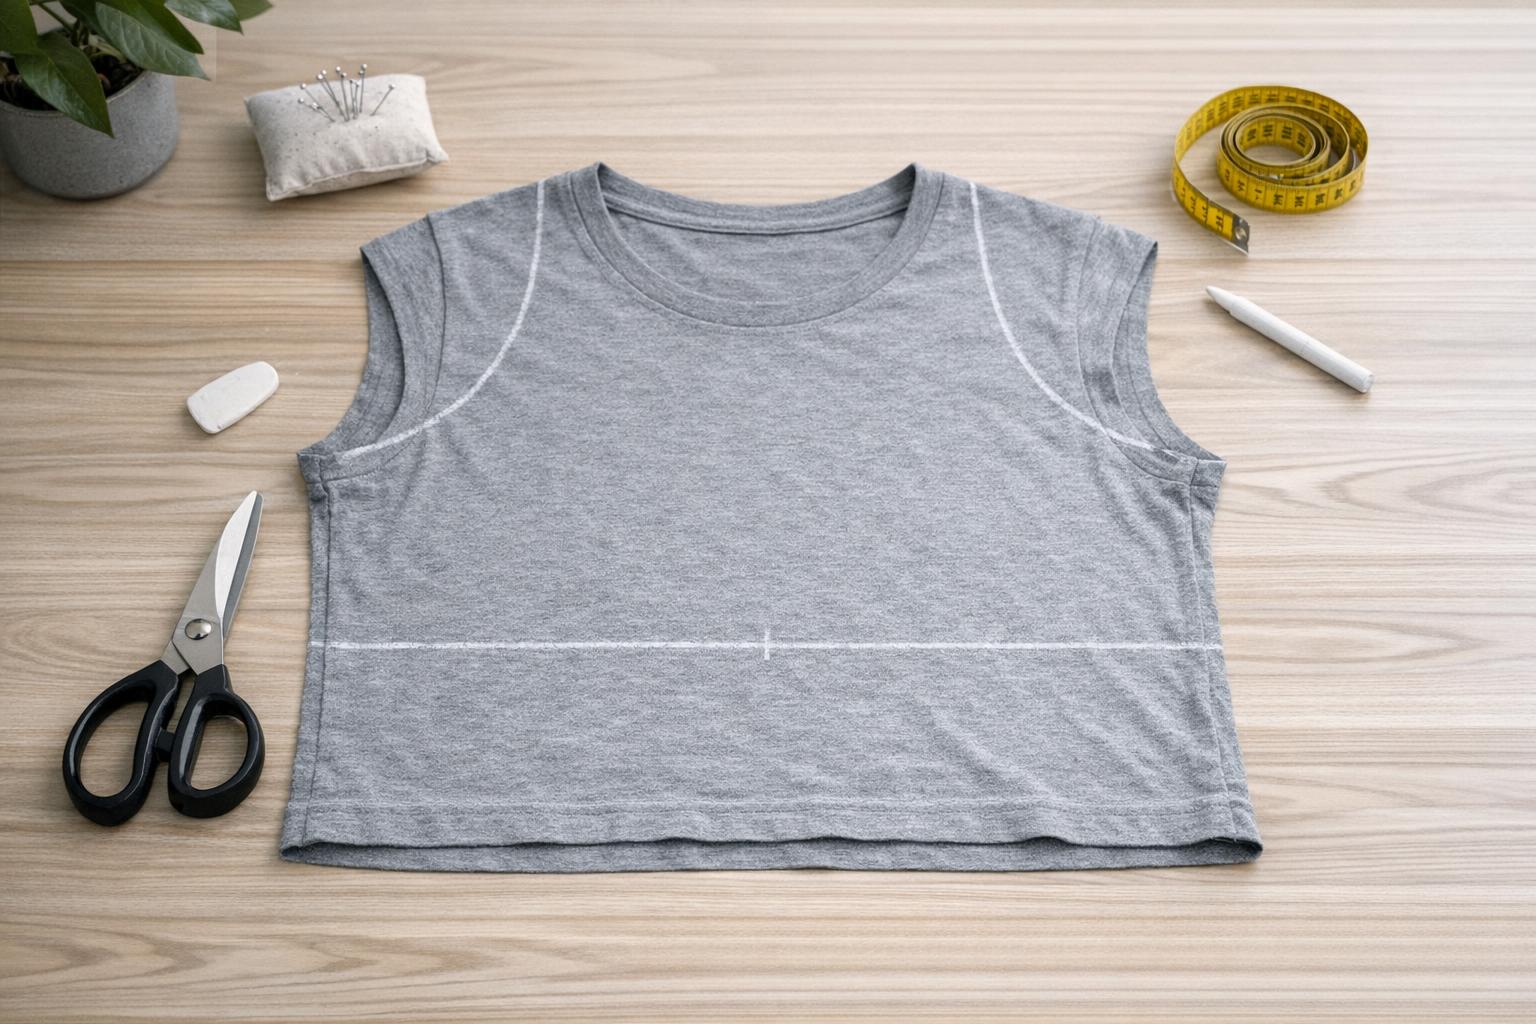
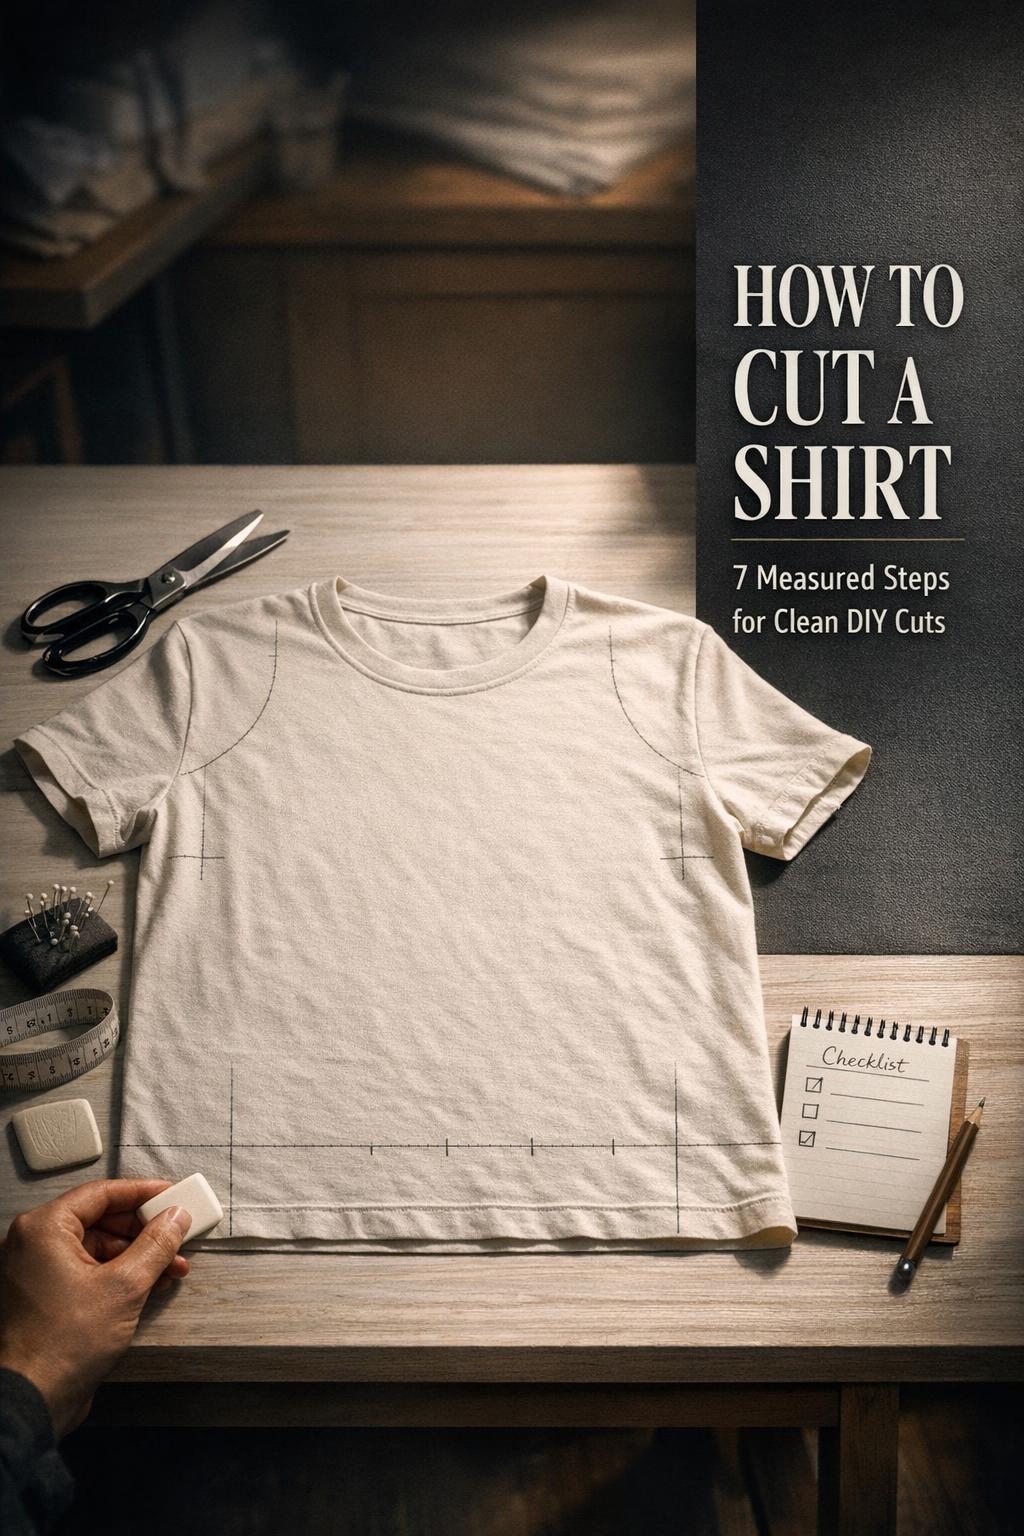
Measure, Mark, and Check Twice Before Cutting
The biggest difference between a shirt that looks intentionally altered and one that looks accidentally damaged is preparation. Measuring and marking create a roadmap so you’re not guessing with scissors in your hand. Even if you plan a casual, raw-edge look, you still want the shape to be balanced and the cut line to be predictable.
Use the shirt’s existing seams and structure as a reference. Seams give you built-in guides for alignment. If you’re making a change that needs to match on both sides—like a neckline adjustment or sleeve removal—folding the shirt can help you cut both sides evenly.
Tips: Cut Less Than You Think You Need
When in doubt, remove less fabric first. You can always cut more, but you can’t put fabric back. A gradual approach is especially helpful when changing the neckline or making a crop, where a small difference can dramatically change the look and comfort.
How to Cut a Shirt Shorter (Simple Hem Shortening)
Shortening the length is one of the most straightforward ways to cut a shirt. The key is to decide where you want the new hem to sit when you’re wearing it, then translate that into a consistent cut line on the fabric. It’s easy to cut too much if you only judge by how it looks laid flat.
Start by trying the shirt on and identifying the desired length. Then lay the shirt flat and smooth it out so the front and back are aligned. If you want a clean, even result, make sure the bottom edge is not twisted or stretched before you mark.
A Controlled, Step-by-Step Approach
- Try the shirt on and decide the finished length
- Lay it flat and smooth out wrinkles and ripples
- Mark your cut line clearly across the shirt
- Cut slowly, following the mark rather than “correcting” mid-cut
- Re-check the length before trimming any additional fabric
If you want the hem to look intentionally raw, consistency matters more than perfection. A straight, steady line looks cleaner than a wavy cut. If you want more control, cut in small sections and keep repositioning your hands so the fabric stays flat.
How to Cut a Shirt Into a Crop Top
Turning a shirt into a crop top is essentially a more style-driven version of shortening the hem. Because crop length changes the overall proportions, it’s worth being extra cautious and checking your line before making the final cut. Cropping can be subtle (just above the hips) or dramatic (higher on the torso), but either way, the cut should be intentional and even.
Crop tops often look best when the cut is clean and level. If you’re unsure about the exact length, start longer than you think and refine it. Small adjustments can make a big difference in how comfortable you feel wearing the finished shirt.
Tips: Use a Reference Shirt for Crop Length
If you already own a top that hits at the length you want, use it as a visual reference. Comparing the two shirts—while keeping them flat and aligned—can help you choose a crop length that feels familiar and wearable.
How to Cut a Shirt Into a Tank Top (Sleeveless Cut)
Cutting a shirt into a tank top typically involves removing the sleeves and shaping the armholes. This is where symmetry becomes especially important. If one armhole is noticeably wider or higher than the other, the shirt can twist or sit unevenly when worn.
To keep the look balanced, focus on matching the shape on both sides. Folding the shirt can help you mirror your cut lines, but you still need to keep the fabric smooth and aligned before cutting. Rushing this step is one of the most common reasons sleeveless shirts end up looking uneven.
A Simple Process for Sleeves and Armholes
- Lay the shirt flat and align the shoulder seams
- Decide how wide you want the shoulder straps to be
- Mark the armhole shape before cutting
- Cut one side carefully, then use it to guide the other side for consistency
- Try it on and adjust gradually if needed
Because armholes affect fit and comfort, make small changes and re-check. A slightly higher armhole can feel tighter, while a lower armhole may feel more open. The right choice depends on what you want the finished tank to look and feel like.
How to Cut a New Neckline
Changing the neckline can update the style of a shirt quickly, but it also carries risk because the neckline is highly visible and hard to disguise if the cut is uneven. The safest method is to open the neckline gradually. A small cut can be expanded, while a neckline that’s cut too wide can permanently change how the shirt sits on your shoulders.
When adjusting a neckline, prioritize balance. The left and right sides should mirror each other unless you’re intentionally creating an asymmetrical look. Use the existing neckline as a guide and think about how the shirt will drape when worn, not just how it looks flat on the table.
Tips: Make Test Cuts and Re-Try the Shirt Often
Necklines feel different once the shirt is on your body. Make a small change, then try the shirt on again before cutting more. This helps prevent cutting the neckline too wide or too low in one step.
How to Cut a Shirt for a Better Fit
Sometimes cutting a shirt isn’t just about style—it’s about improving how it fits. A shirt that feels boxy or too long can often be made more flattering through careful trimming. The key is to make changes that follow the shirt’s natural structure. If you cut without considering how seams align and how fabric hangs, you can create twisting, pulling, or uneven drape.
Fit-focused cutting works best when you define what’s wrong with the current fit. Is the shirt too wide at the bottom? Does it bunch at the waist? Does it feel restrictive at the neckline? Answering these questions helps you focus your cuts on the areas that will actually improve comfort and shape.
Tips: Make Symmetry Your Default
If you’re unsure whether a change should be symmetrical, assume it should be. Most fit adjustments look cleaner when they match on both sides, and symmetry is easier to maintain if you fold the shirt, mark carefully, and cut slowly.
Keeping Cut Lines Clean: Control, Pace, and Edge Consistency
Clean results come from control. If you cut too quickly, the fabric can shift and the line can wobble. If you stop and restart without a plan, the edge can become jagged. A steady, measured pace helps you follow your marks rather than improvising as you go.
Try to keep the shirt flat and supported. When fabric hangs off the edge of a table or bunches up under your hand, your scissors may snag or create small, uneven bites. Keeping the fabric smooth is one of the easiest ways to improve the finished look.
Tips: Let the Markings Do the Work
If you find yourself constantly “correcting” the cut while you’re cutting, pause and re-mark the line instead. Clear markings give you a path to follow, and re-marking is usually safer than trying to steer the scissors back on course mid-cut.
Common Mistakes When Cutting a Shirt (and How to Avoid Them)
Most cutting mistakes come from the same few issues: cutting too much at once, skipping the marking step, and failing to check symmetry. Even if the project is meant to look casual, these mistakes can make the shirt look accidental rather than designed.
- Cutting without trying the shirt on first, leading to an unexpected final length
- Cutting too quickly, which can create jagged edges
- Not smoothing the fabric flat, causing the cut line to drift
- Assuming both sides match without folding or measuring
- Making multiple big changes at once rather than testing the shape gradually
If you’ve already made a cut you’re unsure about, stop and reassess before making more changes. Often, the best “fix” is to refine the shape a little at a time rather than trying to correct everything with one big additional cut.
When to Stop Cutting: The “Try-On Checkpoint” Method
One of the most reliable ways to avoid regret is to build in checkpoints. After any meaningful cut—especially a crop cut, neckline change, or armhole adjustment—try the shirt on. This gives you real feedback about fit, comfort, and balance.
Think of your project in stages rather than one continuous cut. Each stage gets you closer to the final look while keeping changes reversible in the sense that you haven’t removed too much. This approach also reduces the temptation to rush.
Tips: Take a Quick Photo During Checkpoints
A quick photo can help you notice unevenness that’s easy to miss in the mirror. If something looks off, you can adjust with small trims rather than continuing to cut and hoping it evens out.
Design Ideas You Can Combine (Without Overcomplicating It)
Once you understand the basics, you can combine small, intentional changes without turning the project into a guessing game. The key is to keep the number of variables low: change one thing, check it, then move to the next. This keeps your results controlled and prevents a chain reaction where one cut forces another.
- Shorten the hem first, then decide whether the neckline needs adjusting
- Remove sleeves, then refine the armholes gradually
- Update the neckline slightly, then check whether the shoulders still sit well
- Make one side adjustment at a time if you’re improving fit
Combining changes works best when you keep your cuts modest and consistent. Even dramatic designs usually look better when the underlying lines are clean and the proportions feel balanced.
FAQ
How do I cut a shirt without messing it up?
Decide on a specific goal, lay the shirt flat, mark your cut lines clearly, and cut less than you think you need at first; then try it on and adjust gradually rather than making one large, irreversible cut.
Should I measure or just eyeball it when cutting a shirt?
Measuring and marking is more reliable for clean results, especially for hems, necklines, and armholes where symmetry matters; eyeballing can work for intentionally rough looks, but it increases the chance of uneven lines.
How do I cut a shirt shorter evenly?
Try the shirt on to choose the finished length, lay it flat and smooth, mark a consistent line across the bottom, and cut slowly while keeping the fabric supported so it doesn’t shift.
What’s the safest way to cut a new neckline?
Open the neckline in small steps by making a modest cut, trying the shirt on, and expanding only as needed; this prevents cutting too wide or too low in one attempt.
How can I make both sides match when I cut?
Use the shirt’s seams as alignment guides, fold the shirt to mirror the left and right sides, mark before cutting, and compare both sides at checkpoints rather than assuming they’ll match automatically.
How do I cut a shirt into a tank top without uneven armholes?
Lay the shirt flat with shoulder seams aligned, decide on strap width, mark the armhole shape, cut one side carefully, and use that first cut as a guide while you match the second side, making small adjustments after trying it on.
What should I do if I cut too much off the bottom?
Stop cutting further and reassess the new length on your body; if the shirt is now shorter than you wanted, the most practical next step is to treat it as a new style choice and avoid additional cuts that could further limit your options.
How do I keep my cut line from looking jagged?
Work on a flat surface, keep the fabric smooth and supported, use sharp scissors, follow a clearly marked line, and cut at a steady pace rather than rushing or repeatedly stopping and restarting mid-line.