Winter Layering Outfits: Fix Bulky Layer Combinations
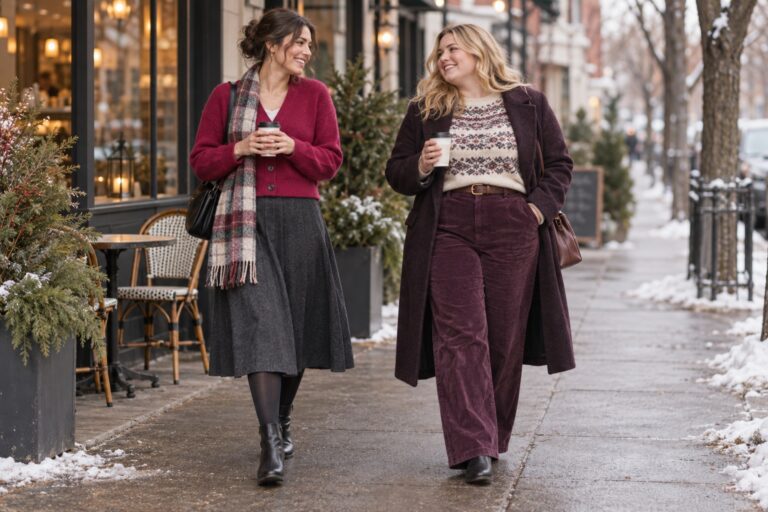
Winter layering outfits can look considered without feeling like a pile of clothes. The useful trick is to check how each garment meets the next one. A collar can crowd the neckline, a sweater can bunch at the waistband, and two hems can cut across the same point. Before adding another layer, find the exact contact point that feels off. Then change one piece, one length, or one fastening. This guide gives you a five-point fit check and three worked combinations you can adapt with clothes you already own.
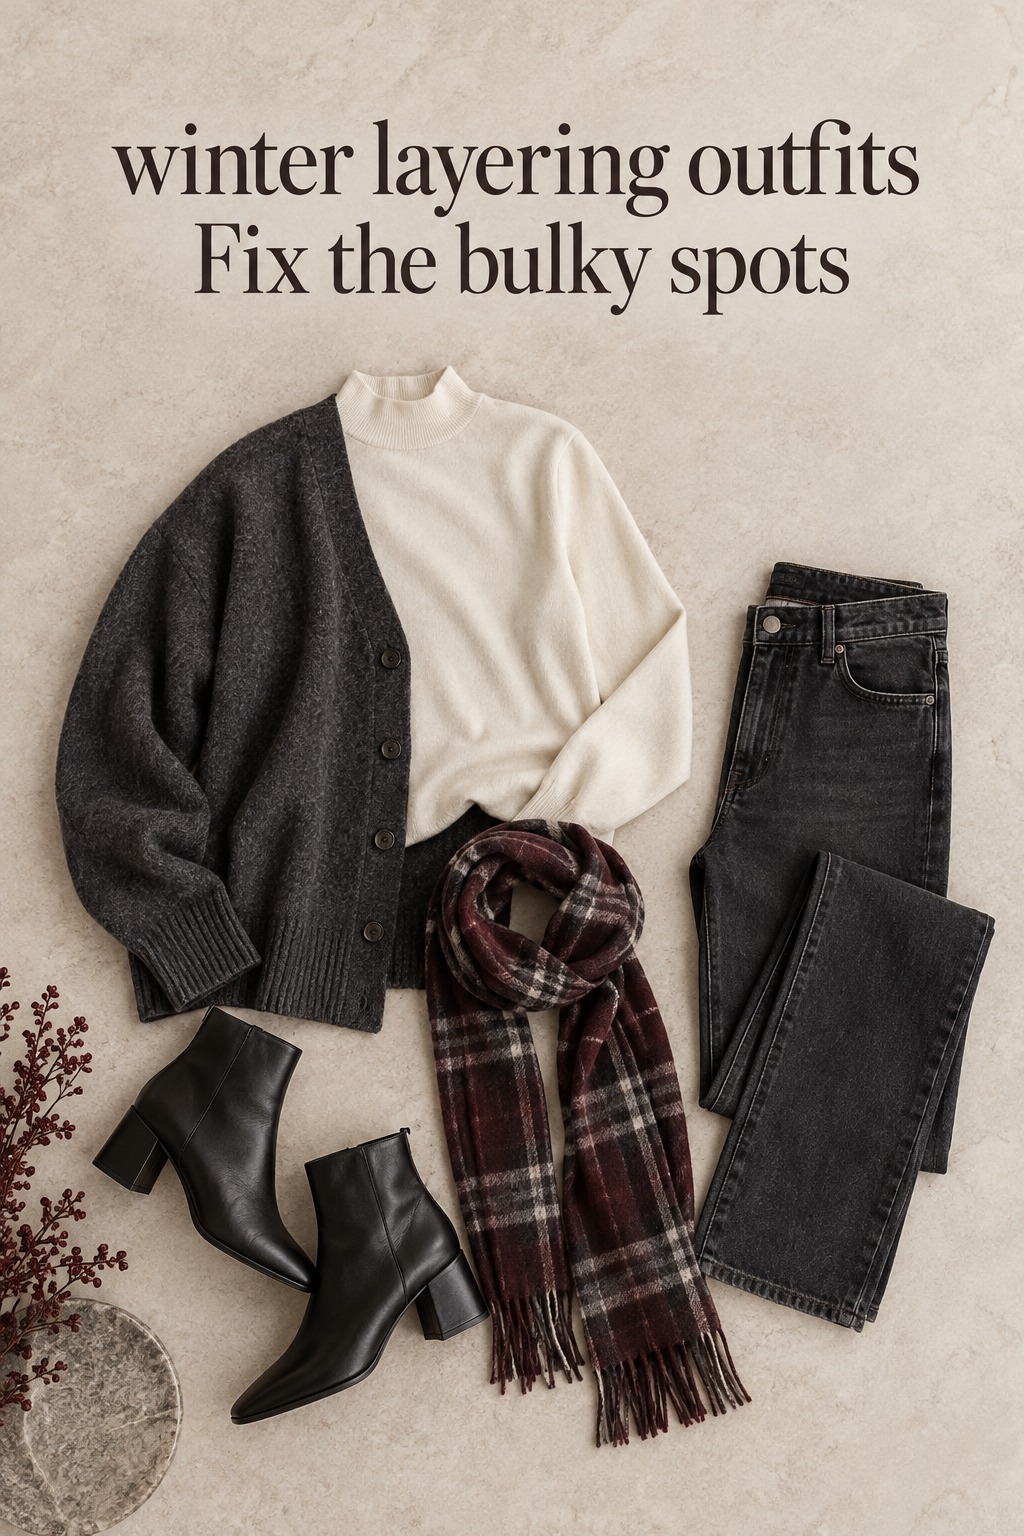
Think of the base as the layer that sits closest to you, the middle as the piece that adds visible shape or texture, and the outer layer as the finish. That simple division is enough to start. You do not need all three pieces to be thick, and you do not need every layer to show. Sometimes the best result is a smooth base that stays hidden, one interesting middle layer, and an outer layer with enough room to close comfortably.
Give each layer a job before you add a fourth piece
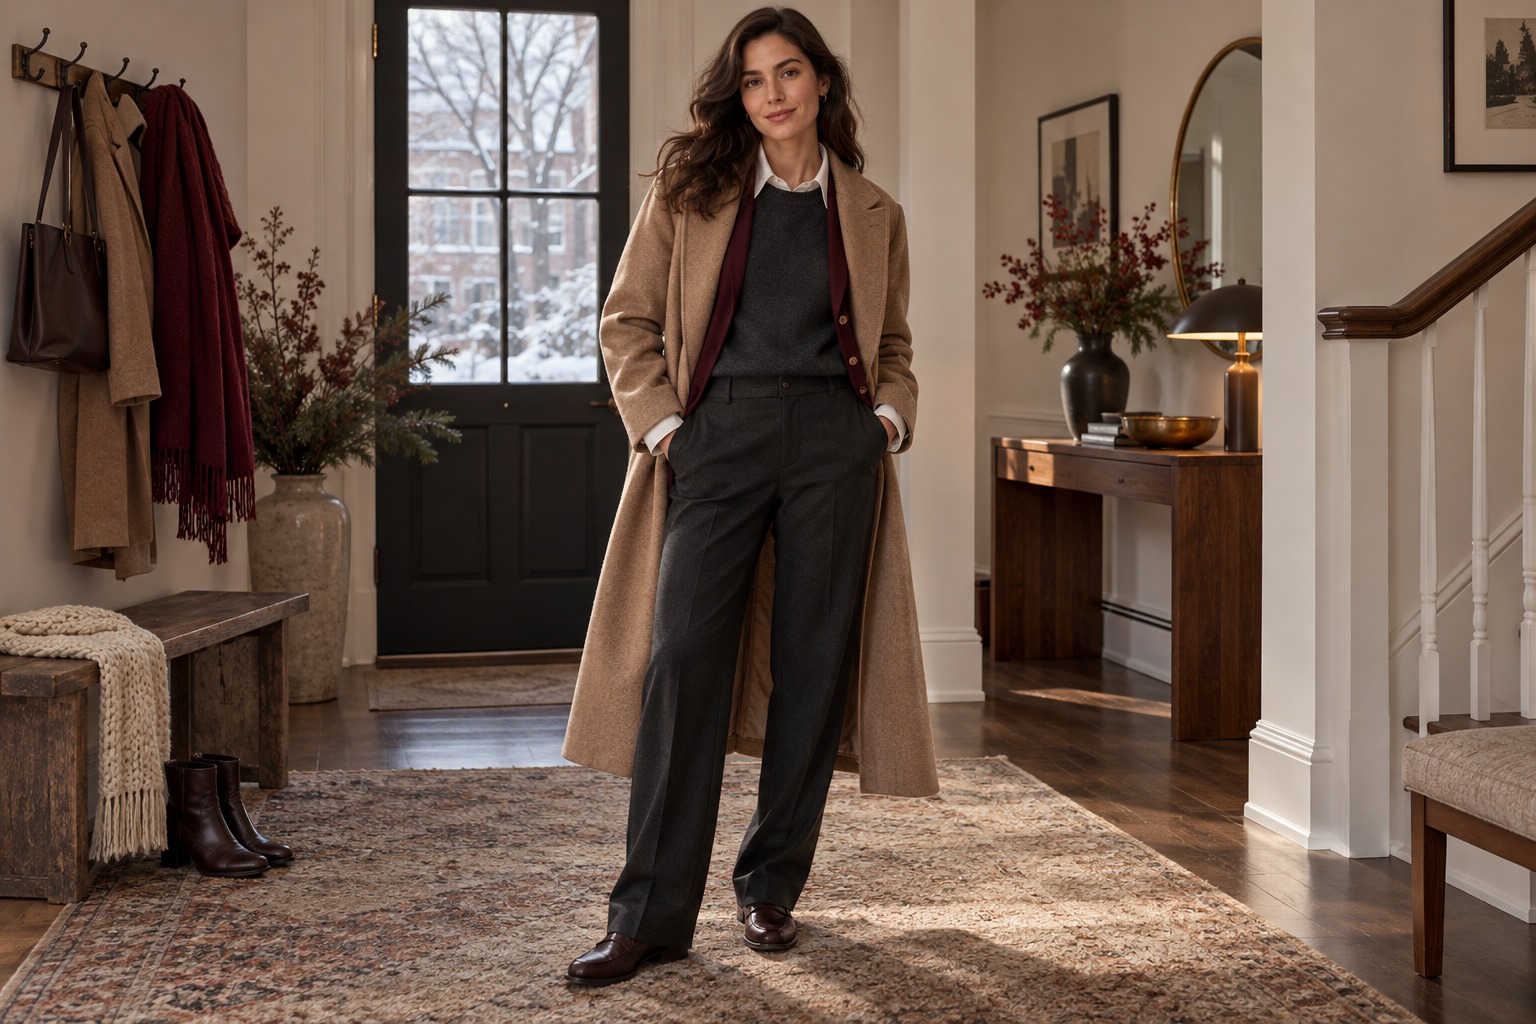
Lay out the outfit in order, from the piece against your skin to the coat. Give each item one main job. A base can provide a smooth start, a shirt can contribute a crisp collar, a knit can add warmth and texture, and a coat can finish the silhouette. When two pieces do the same job in the same place, the outfit can feel crowded. A thick high-neck sweater under a bulky scarf and a raised coat collar, for example, puts three noticeable shapes around the face. Removing or changing one of them usually helps more than adding a fourth.
Decide which detail you want people to notice. It might be a striped shirt cuff, a soft cardigan, a bright knit, or the long line of a coat. Let the other pieces support that detail. If the middle layer is patterned, a quieter base often gives it room. If the coat has a strong shape, keep the pieces beneath it simple enough to sit smoothly. This is not a rule about avoiding color or texture. It is a way to choose where the outfit gets its visual emphasis.

Found the dress? Keep the rest in one place.
Zarellea brings guest details, vendors, timelines, and every next step together — so your wedding plan feels as good as your look.
- Base: Choose a close but comfortable piece that does not wrinkle into thick folds when you bend your arms or sit.
- Middle: Pick one layer that brings the look together through texture, color, structure, or a visible edge.
- Outer: Check that the coat or jacket can sit over the outfit and close without pulling at the shoulders, chest, or hips.
Use these jobs as a starting point, not a fixed number of garments. A cold day may call for a hidden thermal top, while a milder day may need only a shirt and jacket. The point is to know why each piece is there. British Vogue’s winter layering examples distinguish hidden warmth from visible styling, a useful reminder that every layer does not have to announce itself.
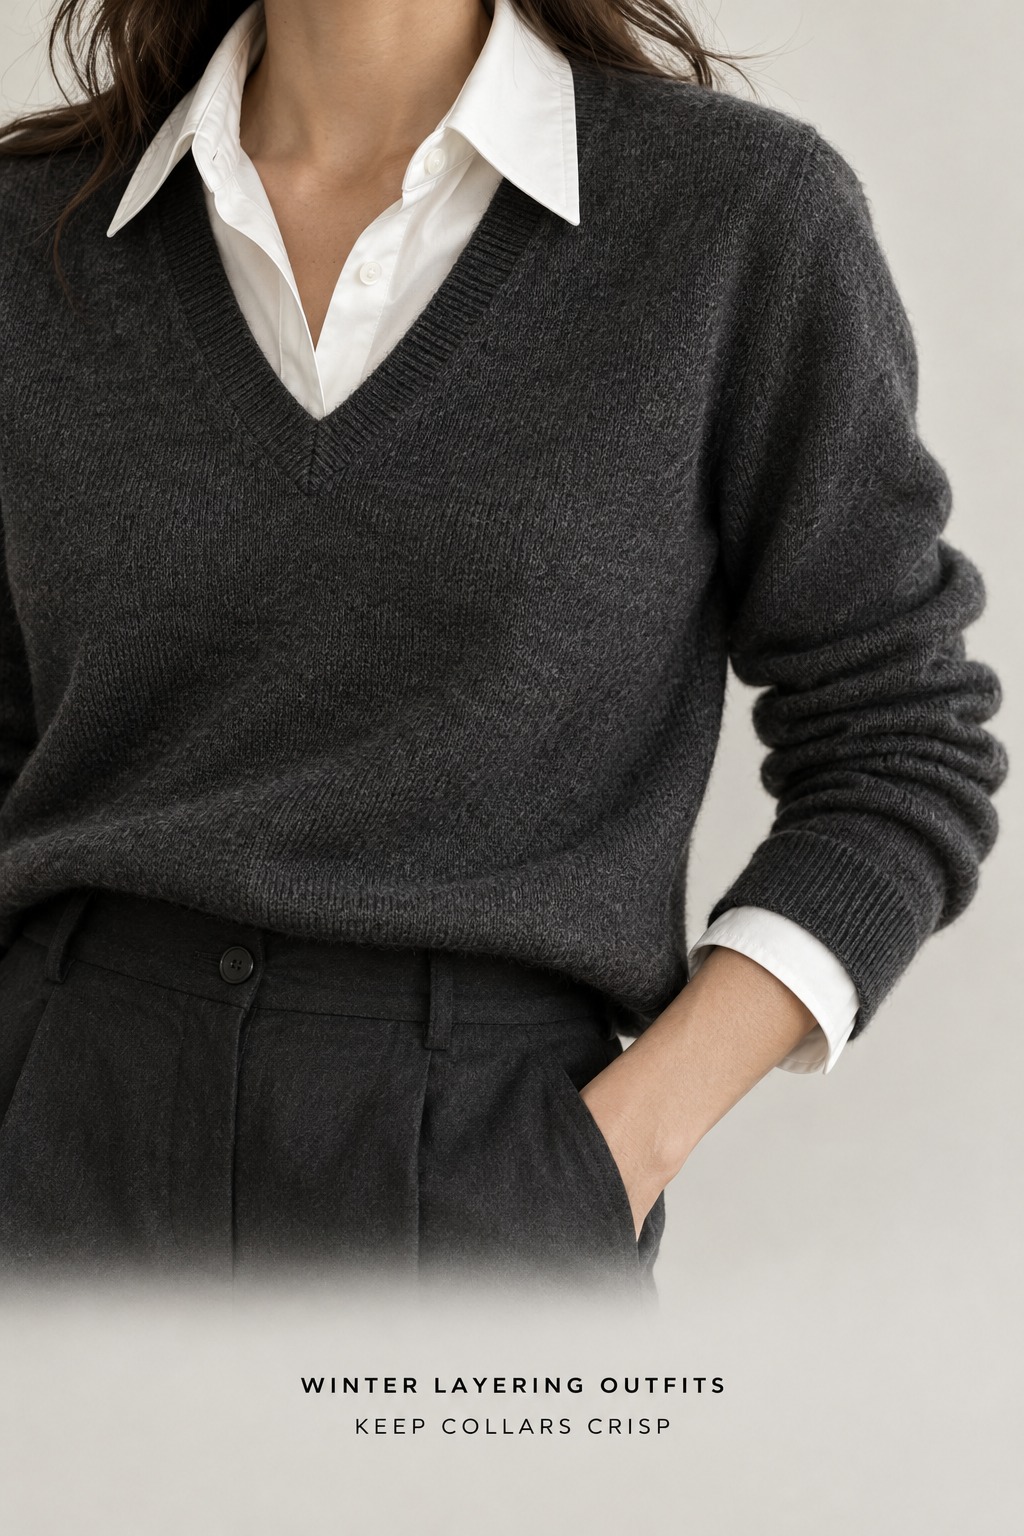
Check the neckline and sleeves first
The upper body is where small fit problems can make an entire outfit feel fussy. Start at the neck. Put on the base and middle layers, then look at the space around the collarbone and jaw. Can you see the detail you wanted to show? Can you turn your head easily? If a shirt collar is trapped under a close crew neck, either let the collar sit neatly inside or switch to a neckline with more room. A half-zip or open cardigan can make space for the shirt instead of forcing the two shapes to compete.
With a turtleneck, use the coat collar deliberately. The coat can sit open to reveal the knit, or close cleanly over it if the necklines are not too bulky together. A scarf is optional. If you add one, try a flatter wrap or let it hang outside the coat rather than winding it several times around an already full neckline. When warmth is the priority, keep the coverage you need and simplify another nearby detail, such as a high coat collar or a hood.
Now check the sleeves. Reach forward as if you were holding a tote strap, then bend both elbows. The base sleeve should not twist into a rope beneath the knit. The middle layer should not pull the shirt cuff halfway up your forearm. If you want a cuff to show, make the reveal intentional and similar on both sides. If you do not, pull the base sleeve down before putting on the next piece. A shirt with narrow sleeves is often easier beneath a fitted cardigan; a roomier overshirt usually needs a jacket with more ease through the armhole.
Do not solve sleeve bunching by automatically sizing up every layer. First identify which seam or cuff is catching. A softer shirt sleeve may slide beneath a knit more easily. A cardigan with a smoother lining can glide over a woven shirt. If the jacket only feels restrictive when your arms move forward, the issue may be its shoulder or armhole shape, not the number of pieces. Try the outfit under the actual coat before deciding which garment to replace or set aside.
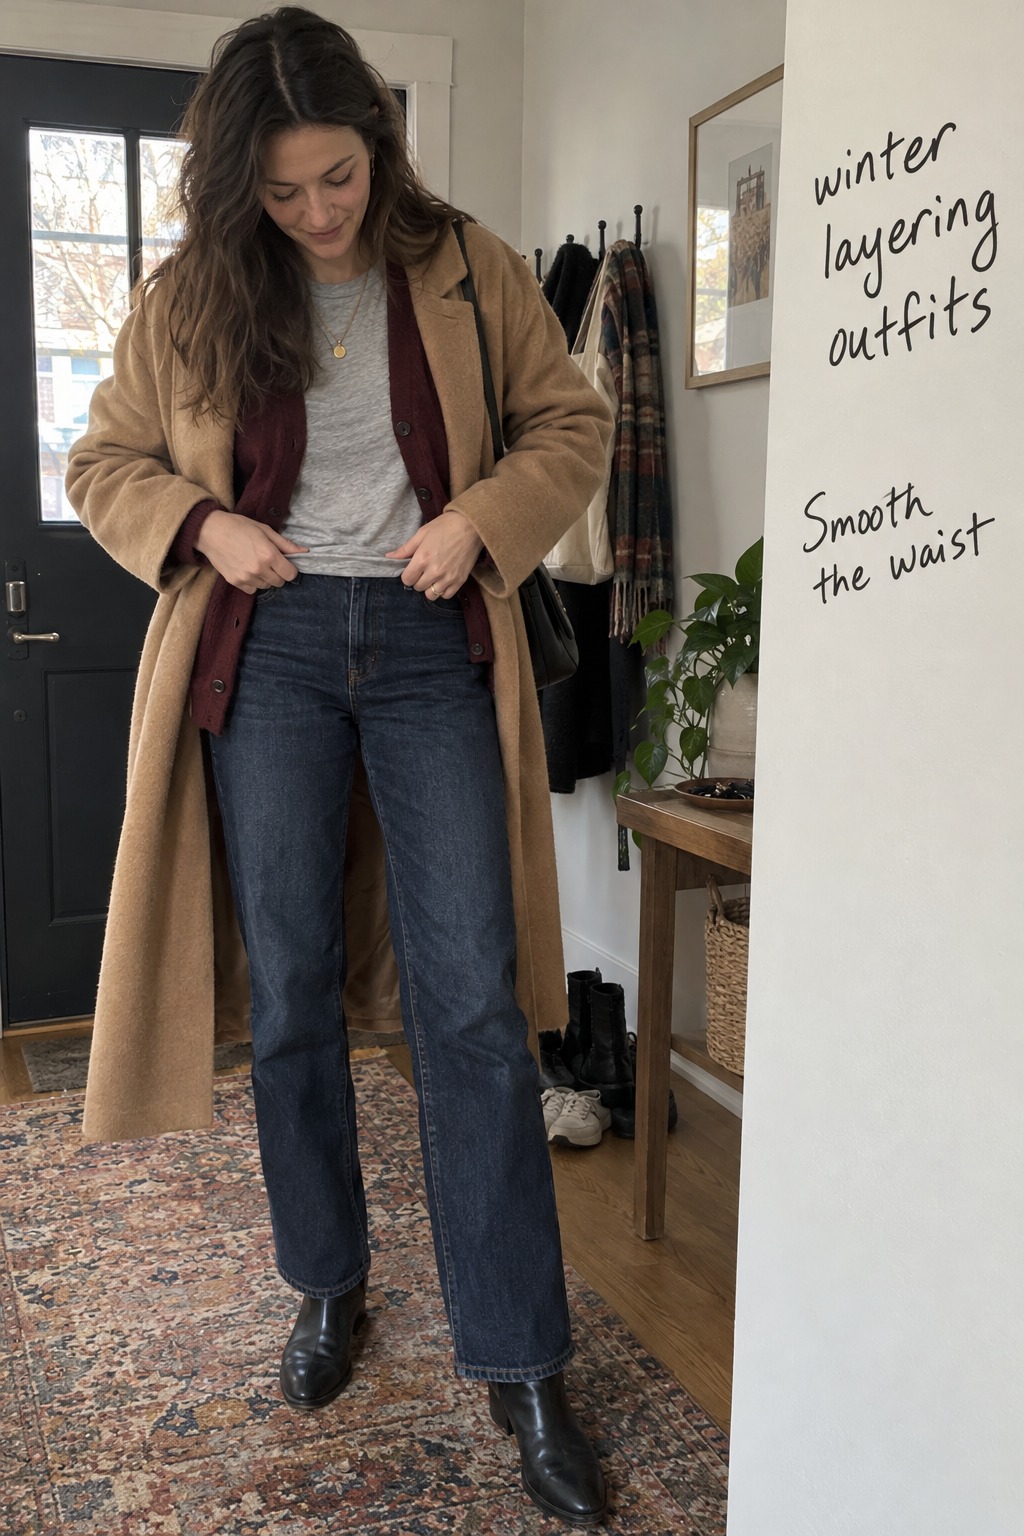
Flatten the waist and separate the hems
Waistband bulk usually comes from several layers ending or gathering in the same small area. A long shirt tucked beneath a sweater and high-rise trousers can make a thick ridge. Try a shorter base, a partial tuck at the front, or wearing the shirt untucked beneath an open cardigan. Each option changes the line without requiring a tighter fit. Smooth the fabric with your hands, sit down, and stand again. If the fabric pushes upward or bunches at your hips, adjust the tuck before reaching for a belt.
A bodysuit or fitted undershirt can be useful if you already like wearing one, but it is not a required solution. A lightweight base that stays put may do the same job. Keep comfort in charge: a waistband should not feel compressed just to make the outfit look smooth while standing. If the middle layer is a cardigan, leave it open to create a clean vertical line, or fasten one button near the center rather than closing every button over a thick tucked shirt.
Next, look at the hems. Your shirt, knit, jacket, and coat do not all need different lengths, but when several stop at nearly the same spot the edge can look accidental. Choose one hem to lead. A shirt tail can peek below a cropped sweater; a long cardigan can frame a shorter top; or a coat can cover the layers beneath it so the hem stack disappears outdoors. If a shirt tail extends far below a sweater, fold or tuck it so only a narrow, deliberate edge remains.
Consider the bottom half as part of the same line. A long coat over a long skirt can create a flowing column, while a short jacket can leave the skirt hem visible. Both can work. What matters is whether the visible edges feel intentional and whether you can walk without fabric catching on your bag or boots. With trousers, check where the pants meet the shoe. A wide trouser hem can cover part of a boot; a tapered leg can sit above it. Adjust the cuff or footwear so the fabric does not collapse into a bulky stack at the ankle.
For a quick mirror check, look at the outfit from the side as well as from the front. The side view shows whether a shirt is ballooning beneath a knit, whether a cardigan is riding up, and whether the coat pulls across the back. A smooth front can hide a fussy side seam. Turn around once before you decide the outfit is finished.
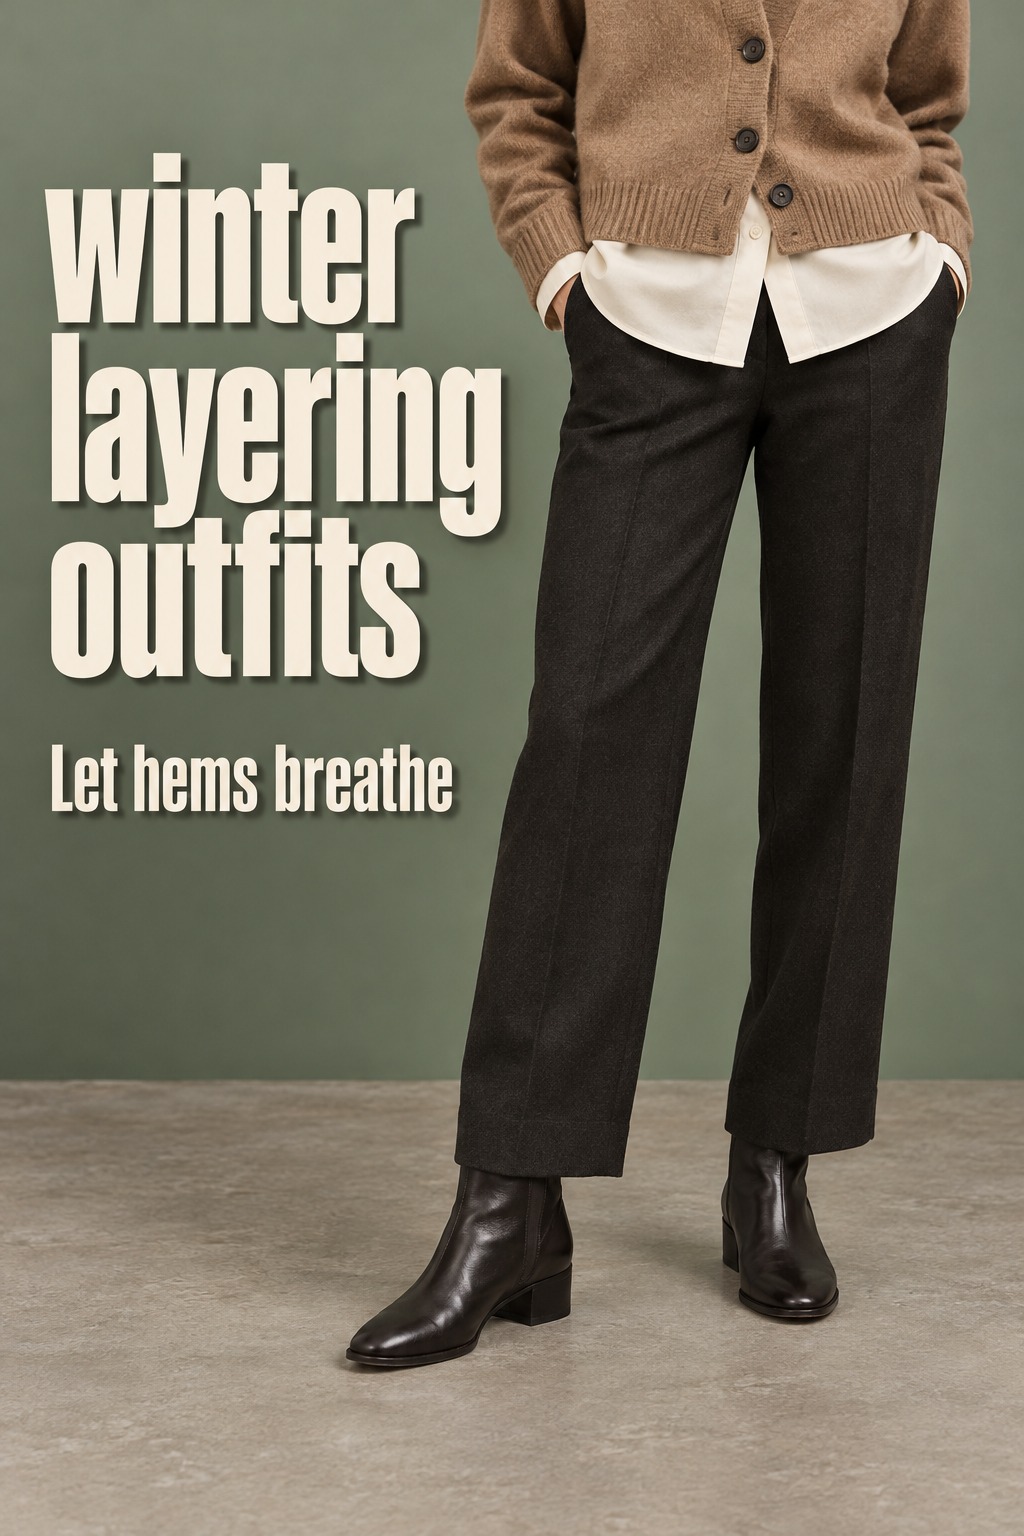
Balance volume with three worked outfit builds
Use these combinations as demonstrations of the fit check, not rules to copy exactly. Begin with the pieces you own, notice what is already working, and change only the area that feels crowded.
A shirt, fine knit, and structured jacket
Start with a button-down shirt and a lightweight crewneck or V-neck knit. Let either the collar or the cuffs show, not necessarily both. If the collar curls under the neckline, flatten it or choose the V-neck. If the cuffs disappear into the knit, pull them out evenly or keep the sleeves fully covered. Add a blazer or short structured jacket that can button without strain. Straight jeans or tailored trousers keep the lower half simple while the layers do the talking.
When the shirt looks puffy at the waist, leave it untucked under an open jacket or tuck only the front into a higher rise. If the jacket pulls at the back, test the outfit with the coat you plan to wear over it. A blazer that looks neat indoors but makes the coat impossible to close may be the wrong middle layer for that day. You can keep the shirt and swap in a thinner knit or a roomier coat instead.
A tee, cardigan, and long coat
A soft tee under a cardigan is an easy way to create visible depth without stacking multiple collars. Choose one length relationship: a tee edge peeking just below the cardigan, or a cardigan that falls longer than the top and frames it. Pair with straight-leg trousers or jeans and a long coat. If the coat is already roomy, keep the cardigan closer to the body so the layers do not all expand at once.
Check where the cardigan closes. If buttons pull into small gaps across the chest or stomach, wear it open rather than forcing it shut. If the coat has a belt, tie it lightly over the outer layer and see whether the cardigan bunches beneath. A flatter knit or a belt-free finish may feel better. Add a scarf only after checking the neckline; an open coat and simple tee may already have enough space and contrast.
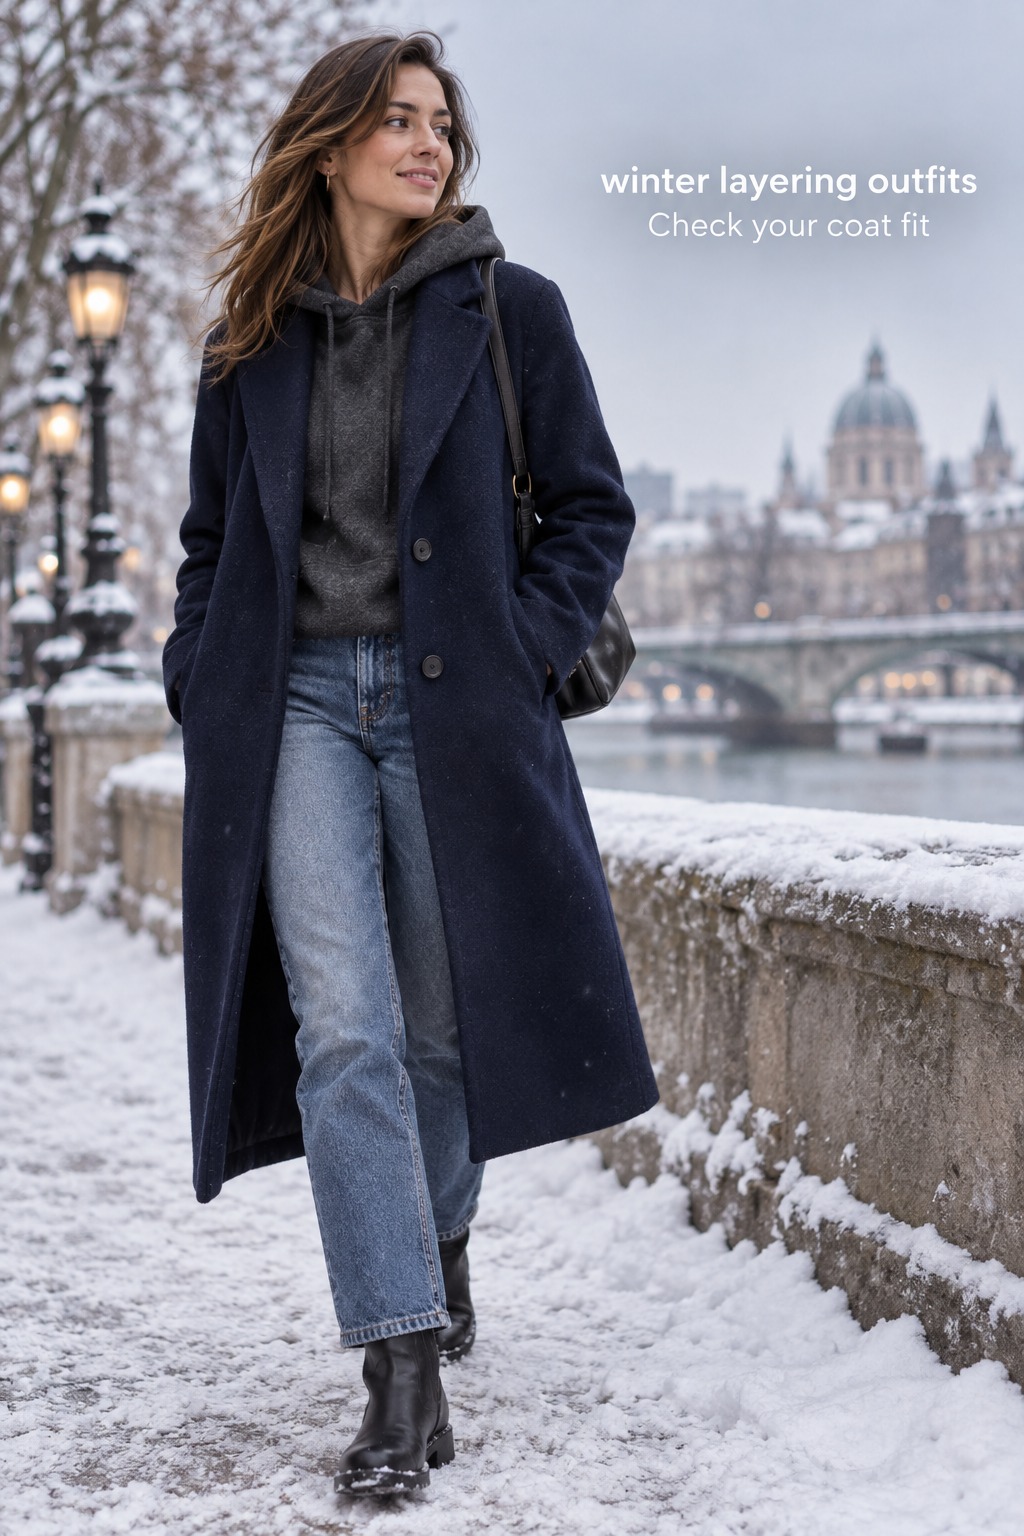
A hoodie, straight denim, and an easy outer layer
A hoodie can be the most noticeable middle layer, so treat its hood as part of the outfit. Let it rest outside a simple jacket if the neckline permits, or tuck it inside a coat that has room and a smooth collar. Avoid bunching the hood under a narrow collar where it pushes the jacket backward. Straight denim gives the top half enough visual presence without adding another loose shape at the legs.
If you prefer wide-leg pants, keep the coat or jacket length deliberate. A shorter outer layer can show the waist and preserve the trouser line; a longer coat can create a continuous shape. Check that the hem does not catch on the hoodie when you sit. A backpack or crossbody strap can also compress the layers at one shoulder, so test the bag you will actually carry. If that creates a ridge, smooth the hoodie seam or move the strap before changing the outfit.
Do the movement and closure check
Before leaving, test the outfit in motion. Raise your arms, reach across your body, sit, stand, and close the outer layer. You should be able to move without a sleeve twisting, a waistband digging in, or buttons straining. If one movement reveals a problem, remove the coat and find which layer shifted. Make that one adjustment and repeat the movement. A mirror can help with visual balance, but movement tells you whether the combination is wearable.
Do a final scan from top to bottom. Is there one detail you want to show? Are the neckline and cuffs calm enough to let it stand out? Does one hem lead while the others support it? Can you close the coat over the outfit? This brief review is more useful than adding accessories by habit. Macy’s general layering guide also emphasizes fit across base, middle, and outer layers; here, the practical next step is to check those pieces together rather than judging each one alone.
If the outfit feels wrong, remove one piece and compare. Then put it back and change one different thing, such as the tuck, the sleeve position, or the outer layer. Small comparisons make it easier to see the real cause. Keep the combination that feels comfortable and still looks like you. Winter layering outfits do not need a perfect formula. They need enough room for the clothes to work together and a clear idea of which layer is doing what.
FAQ
How many layers should a winter outfit have?
There is no fixed number. Start with the pieces you need for comfort, then decide which visible layer adds shape or detail. A thin hidden base may work with one knit and a coat, while another day may call for fewer visible pieces. Each garment should fit over the layer beneath it and let you move.
How can I layer without looking bulky?
Find the exact point that looks crowded, such as the neck, sleeves, waistband, or hems. Change one piece or adjust how it is worn. A thinner base, an open cardigan, or a more separated hem length can help, but the best correction depends on where the bulk is coming from.
Can I wear a button-down under a sweater?
Yes. Choose a neckline that gives the collar room, and check whether the shirt fabric gathers under the knit. You can show the collar, the cuffs, or a small shirt hem. If several edges compete, smooth or tuck one of them so the layering looks intentional.
What should I do when sleeves bunch under a coat?
Check the sleeve seam and cuff that catches first. Pull the base sleeve down, then try a smoother or narrower sleeve beneath the coat. If reaching forward still feels restrictive, the coat may not have enough room through its shoulders or armholes for that combination.
How do I stop a shirt from bunching at my waistband?
Try a partial tuck, a shorter base, or wearing the shirt untucked beneath an open layer. Sit and stand to see whether the fabric stays comfortable. Avoid tightening a belt over folds that already feel thick, since that can make the bunching more noticeable.
Do all the layers need to be visible?
No. A base can stay hidden and still make the outfit more comfortable. Choose one or two details to reveal, such as a collar, cuff, knit texture, or shirt hem. Let the other pieces sit smoothly underneath or over them.
How can I tell if my coat is too tight over my layers?
Close it, reach forward, and sit down. If the buttons pull, the shoulders feel pinched, or the sleeves restrict your movement, the outfit may need a thinner middle layer or a coat with more ease. A coat that closes comfortably is a better fit for layering than one that only looks right while open.